

My niece was so excited for halloween this year. A hot dog, Cinderella, a ghost buster, and a donut made it on her list this year (lol) she decided to go with being a donut.
I don’t know many 3 year olds that would choose a donut as a costume so I was really happy that she chose it and was looking forward to helping my sister make her costume. We were researching some donut costumes on the web when I though that adding lights to her costume would be really fun and original! Not to mention it would help drivers to see her when the sun went down.
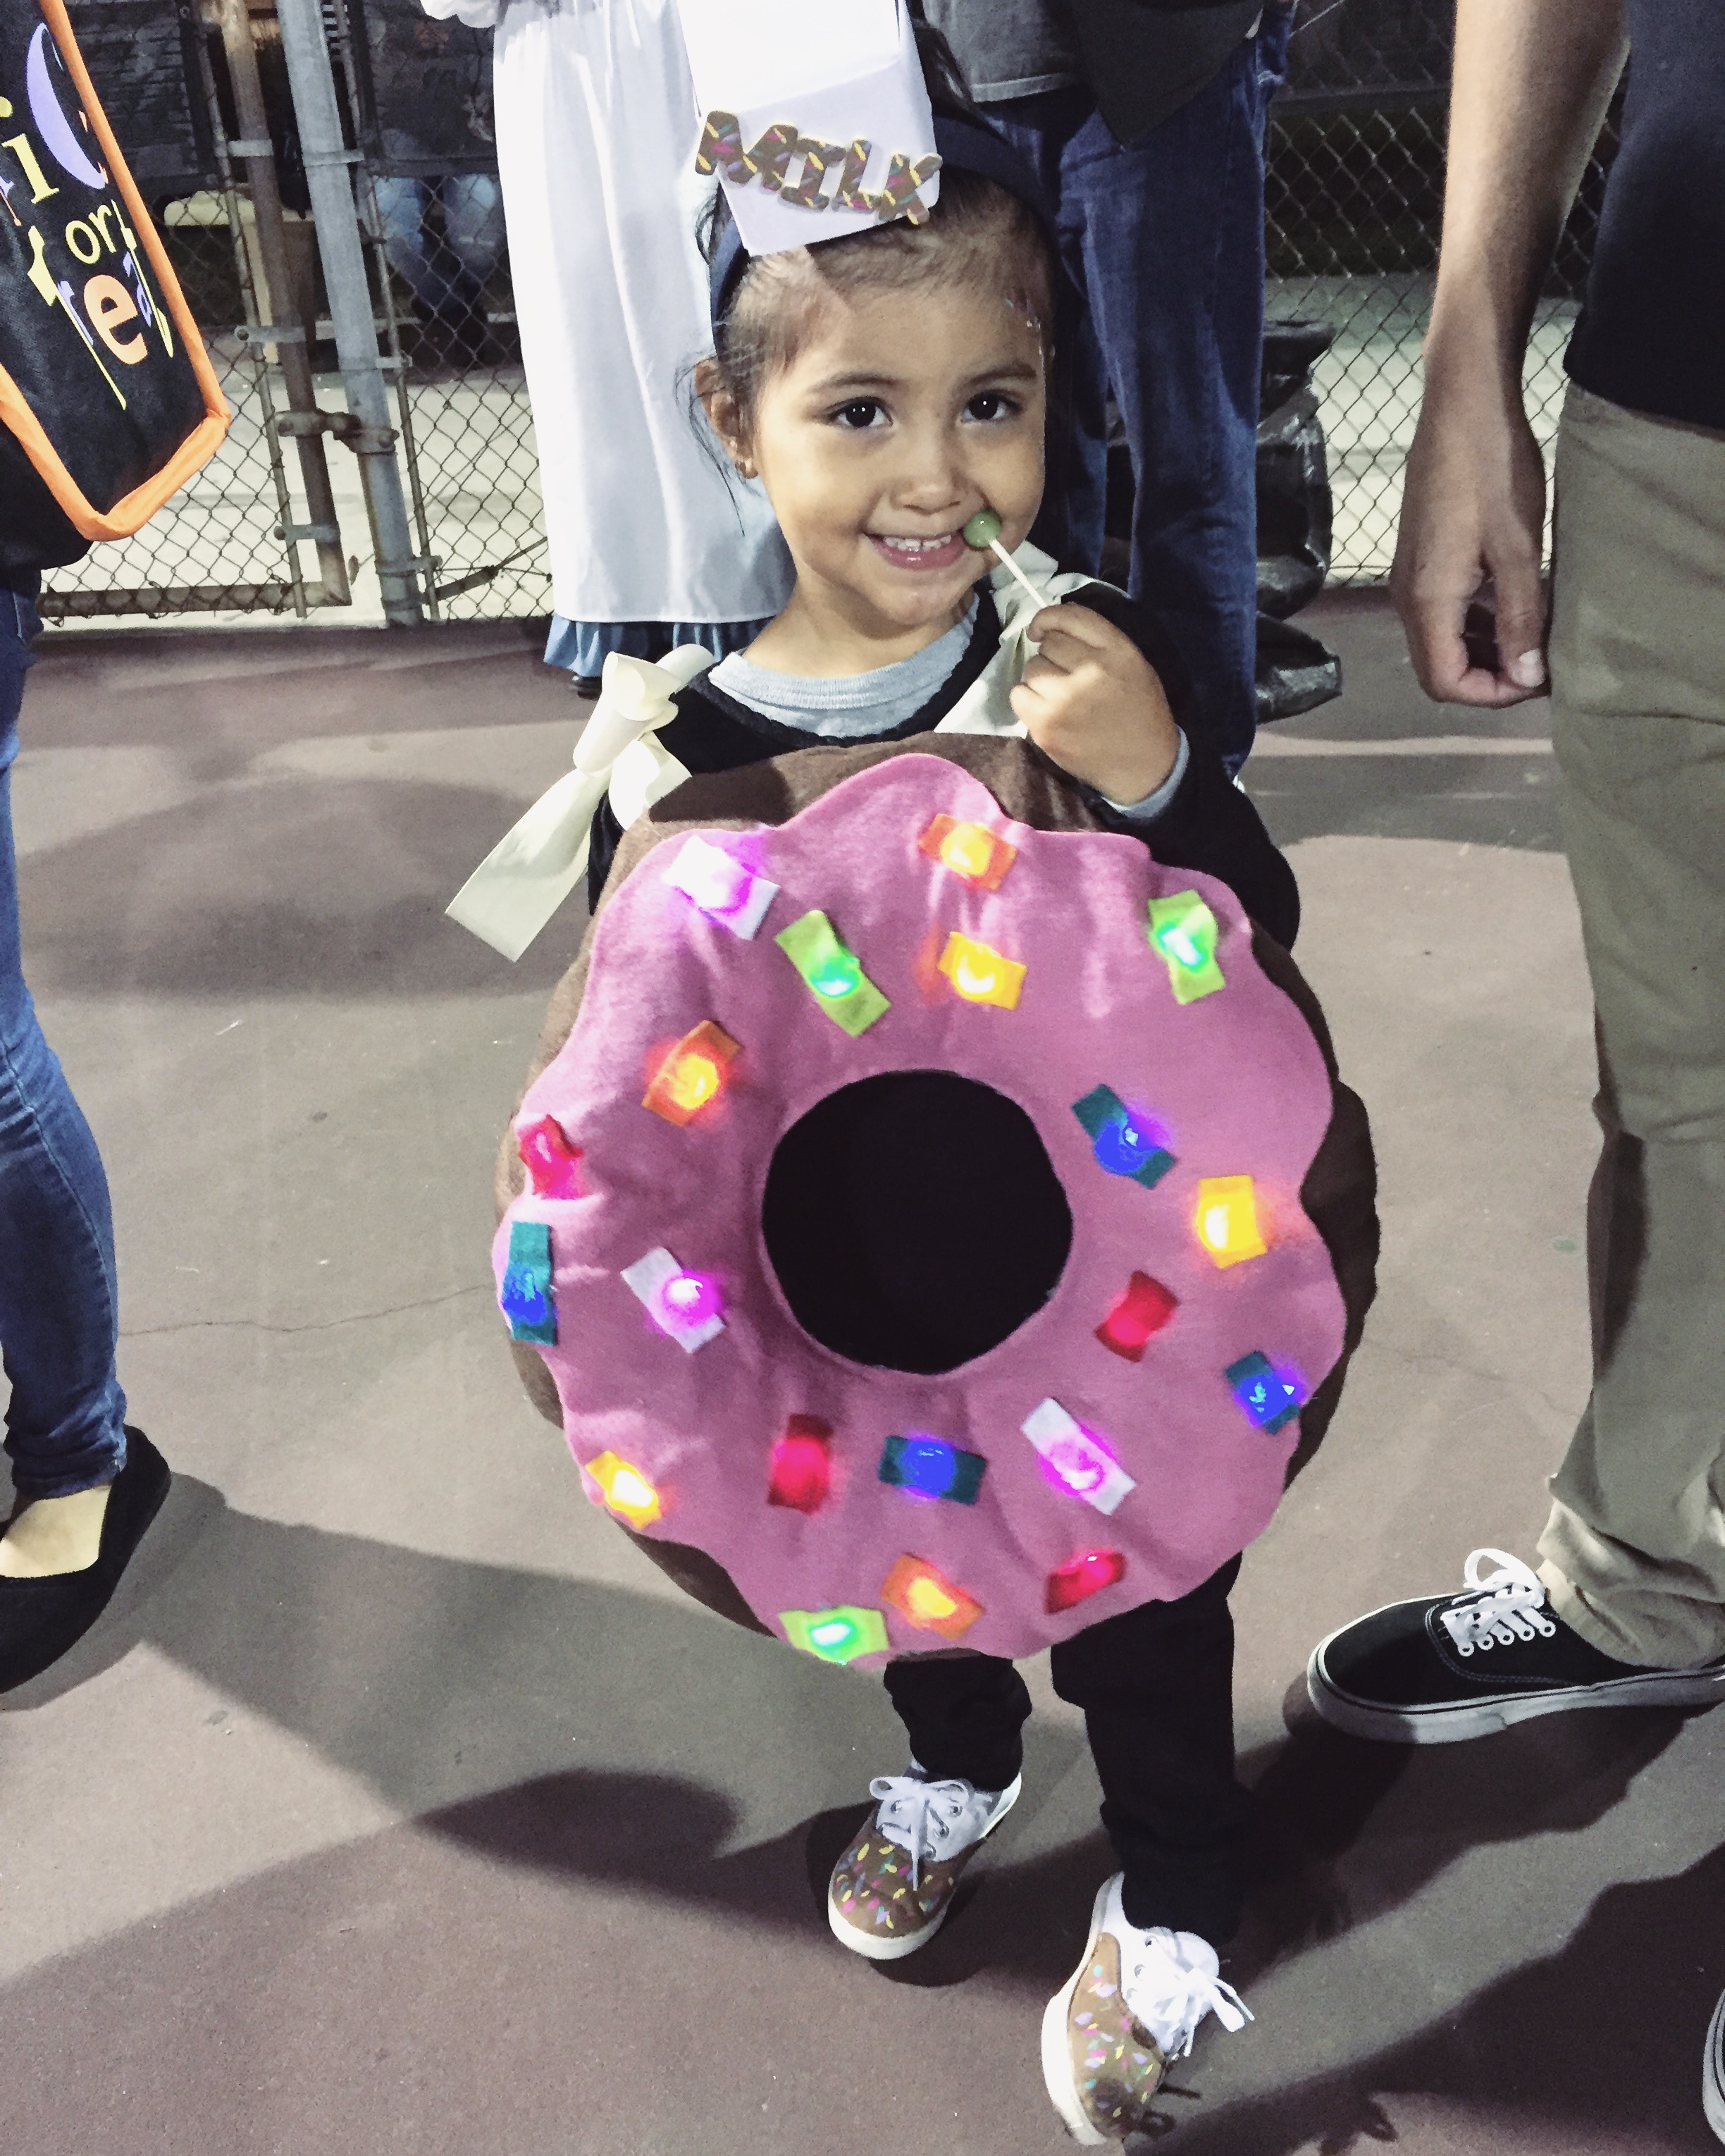
Here’s the final outcome to her costume. I tried my best to get step by step pics of how I put it together. Not included is the headpiece my sister made and the shoes she painted for her. She just recycled a small milk carton and added painted sprinkles to plain white shoes bought from Walmart.
Heres the steps to making the front part of the costume. (the donut with frosting)
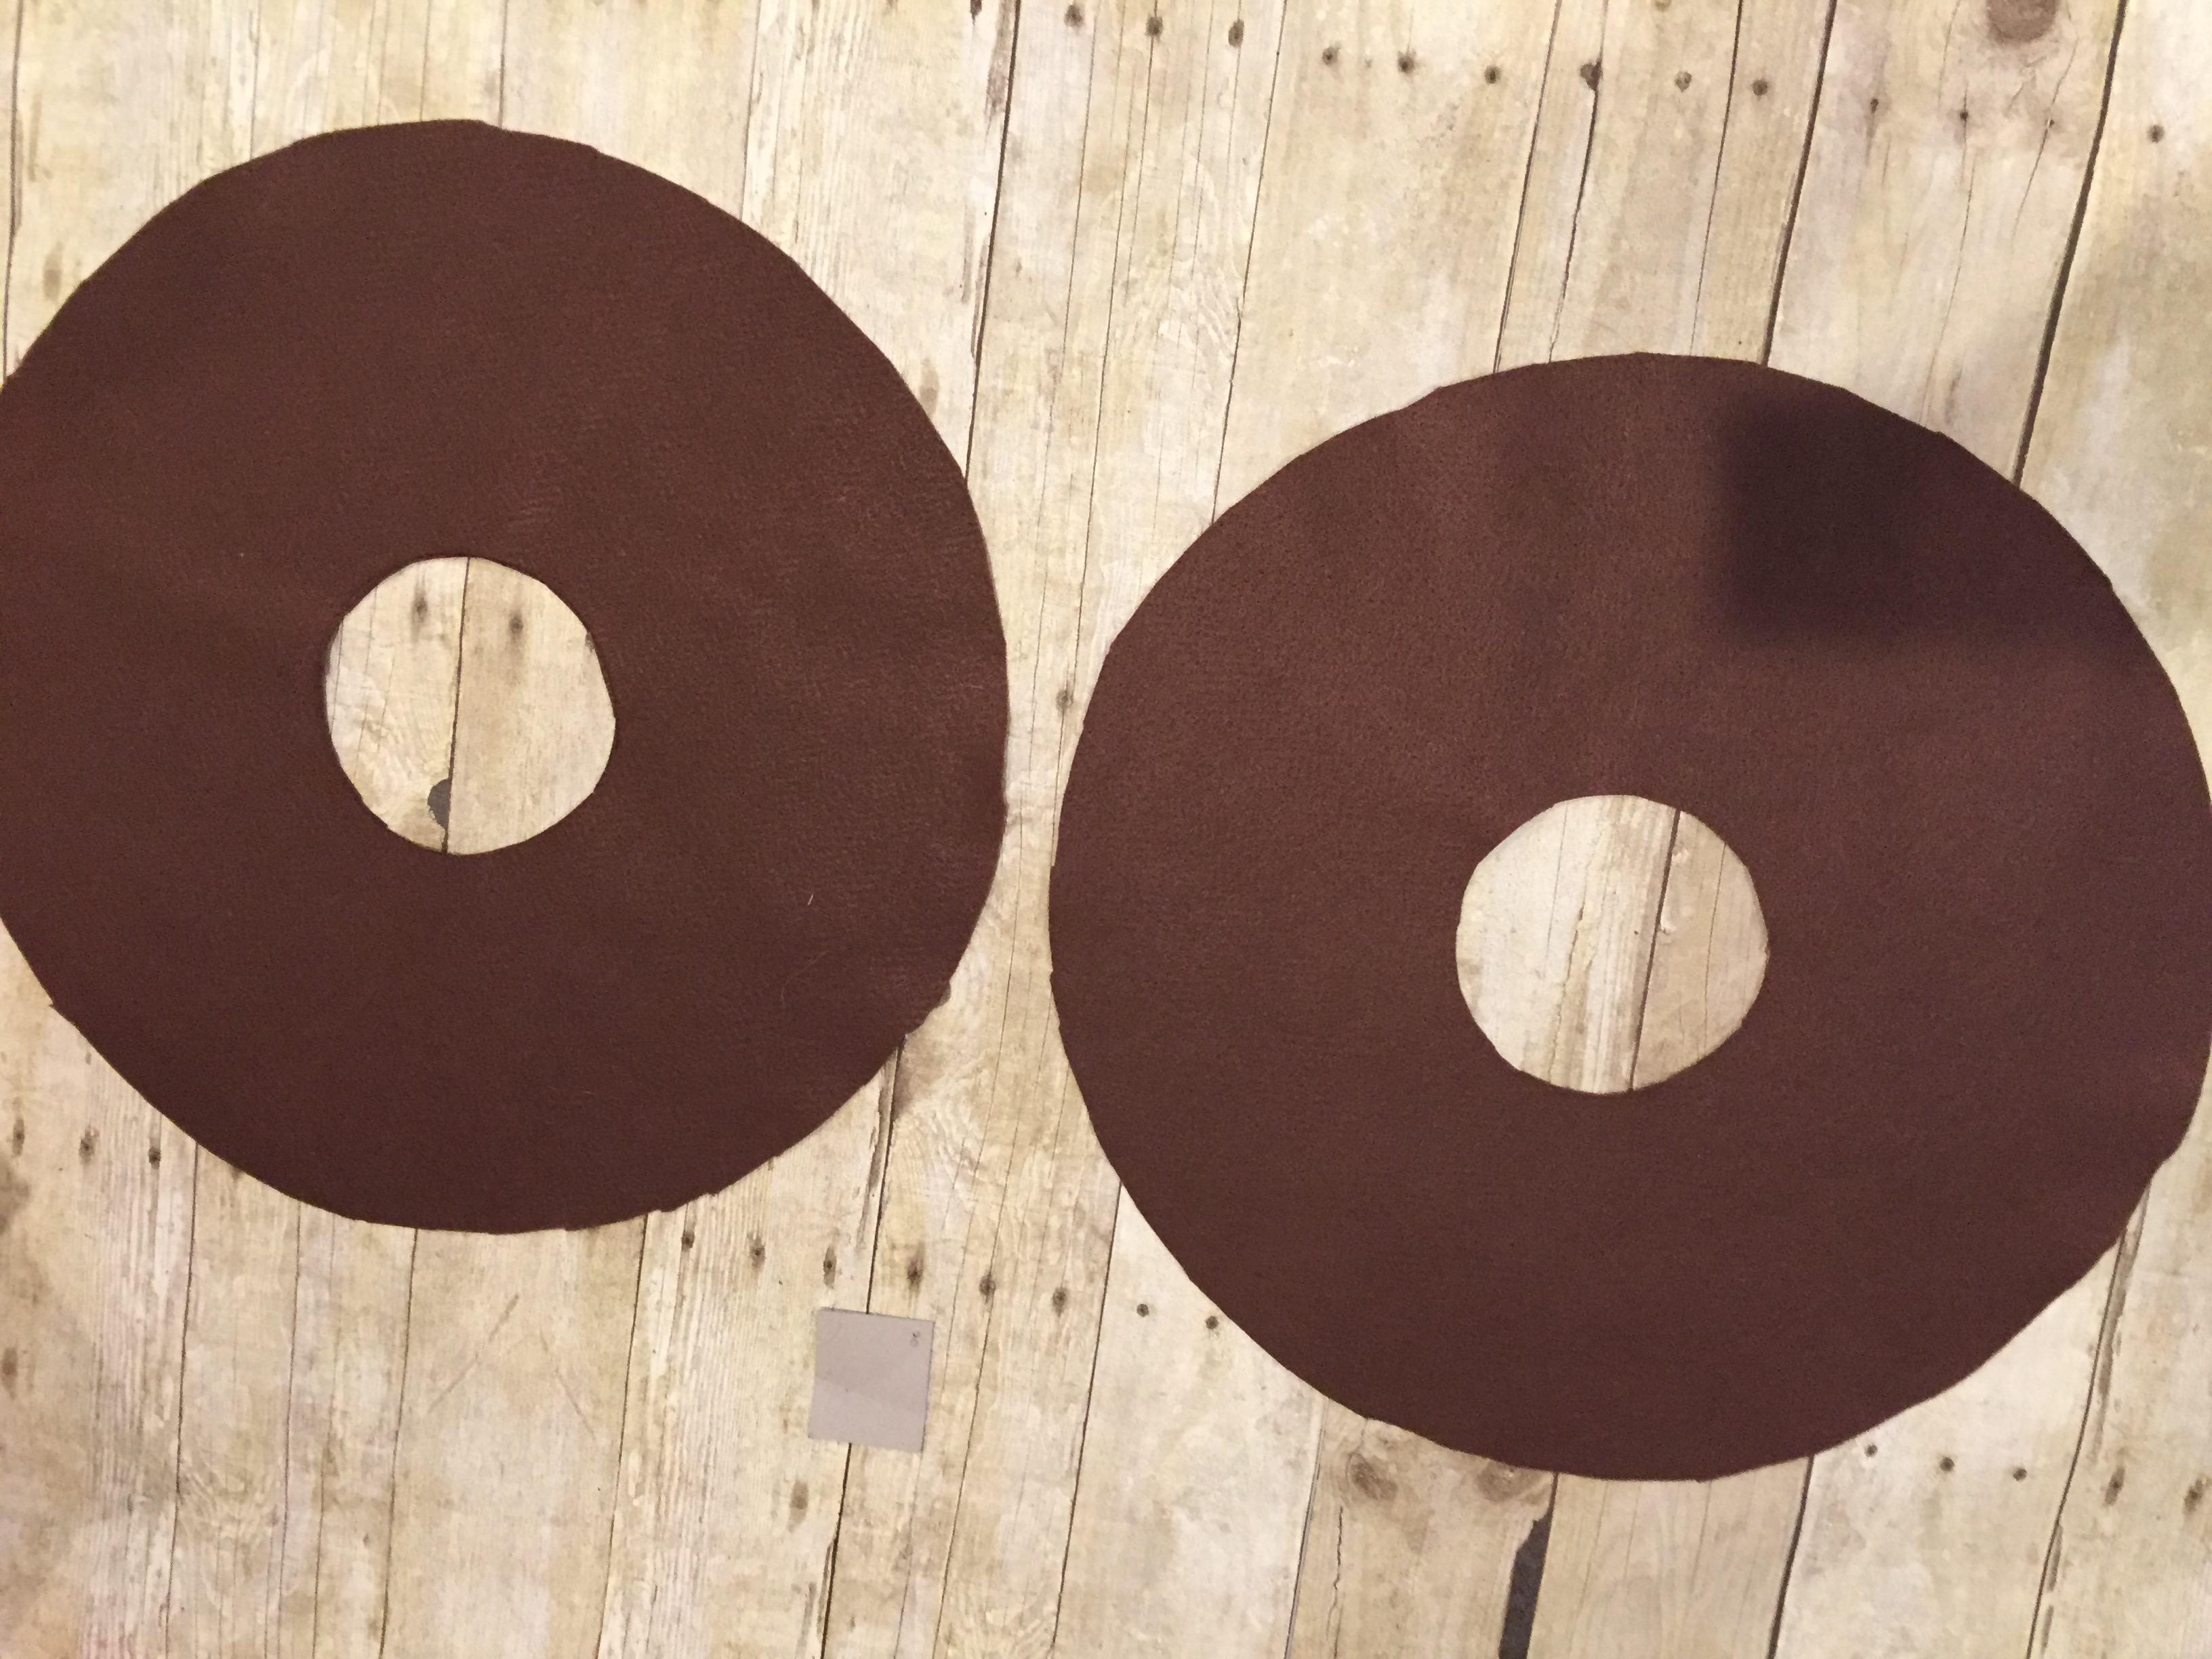
Step 1:
Measure & cute large circles (the size you want your costumee to be) and cut out centers.
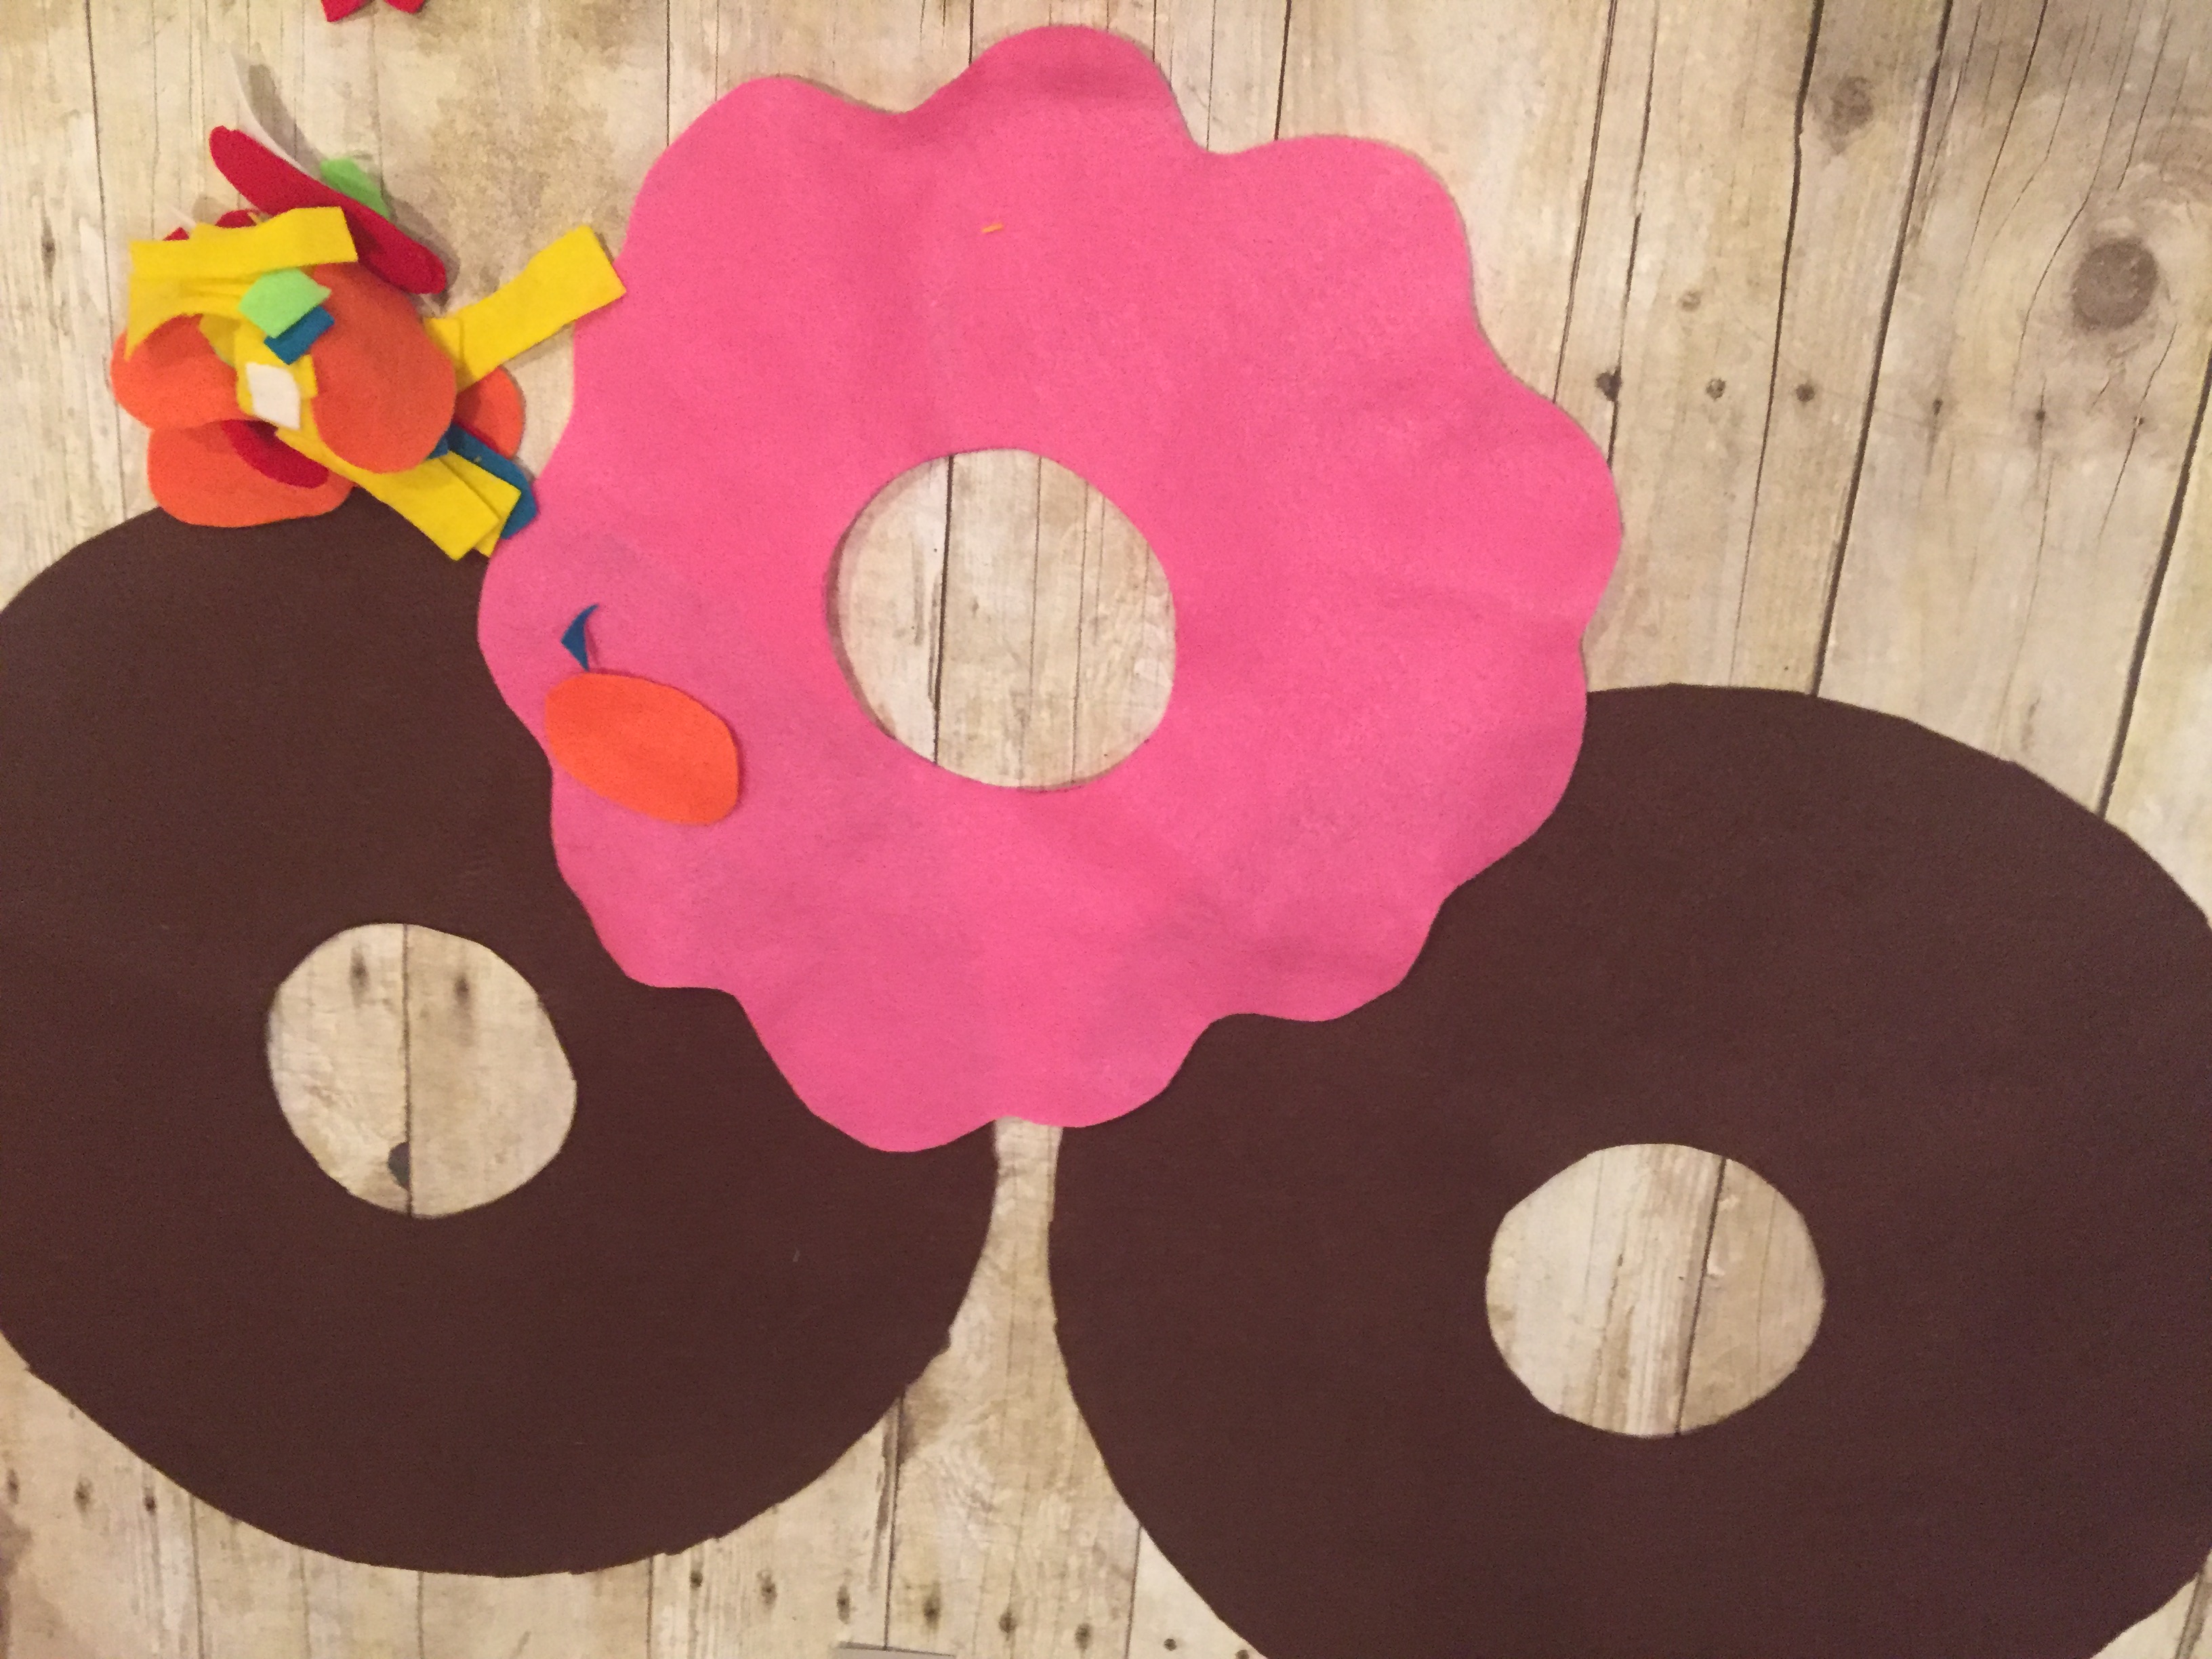
step 2:
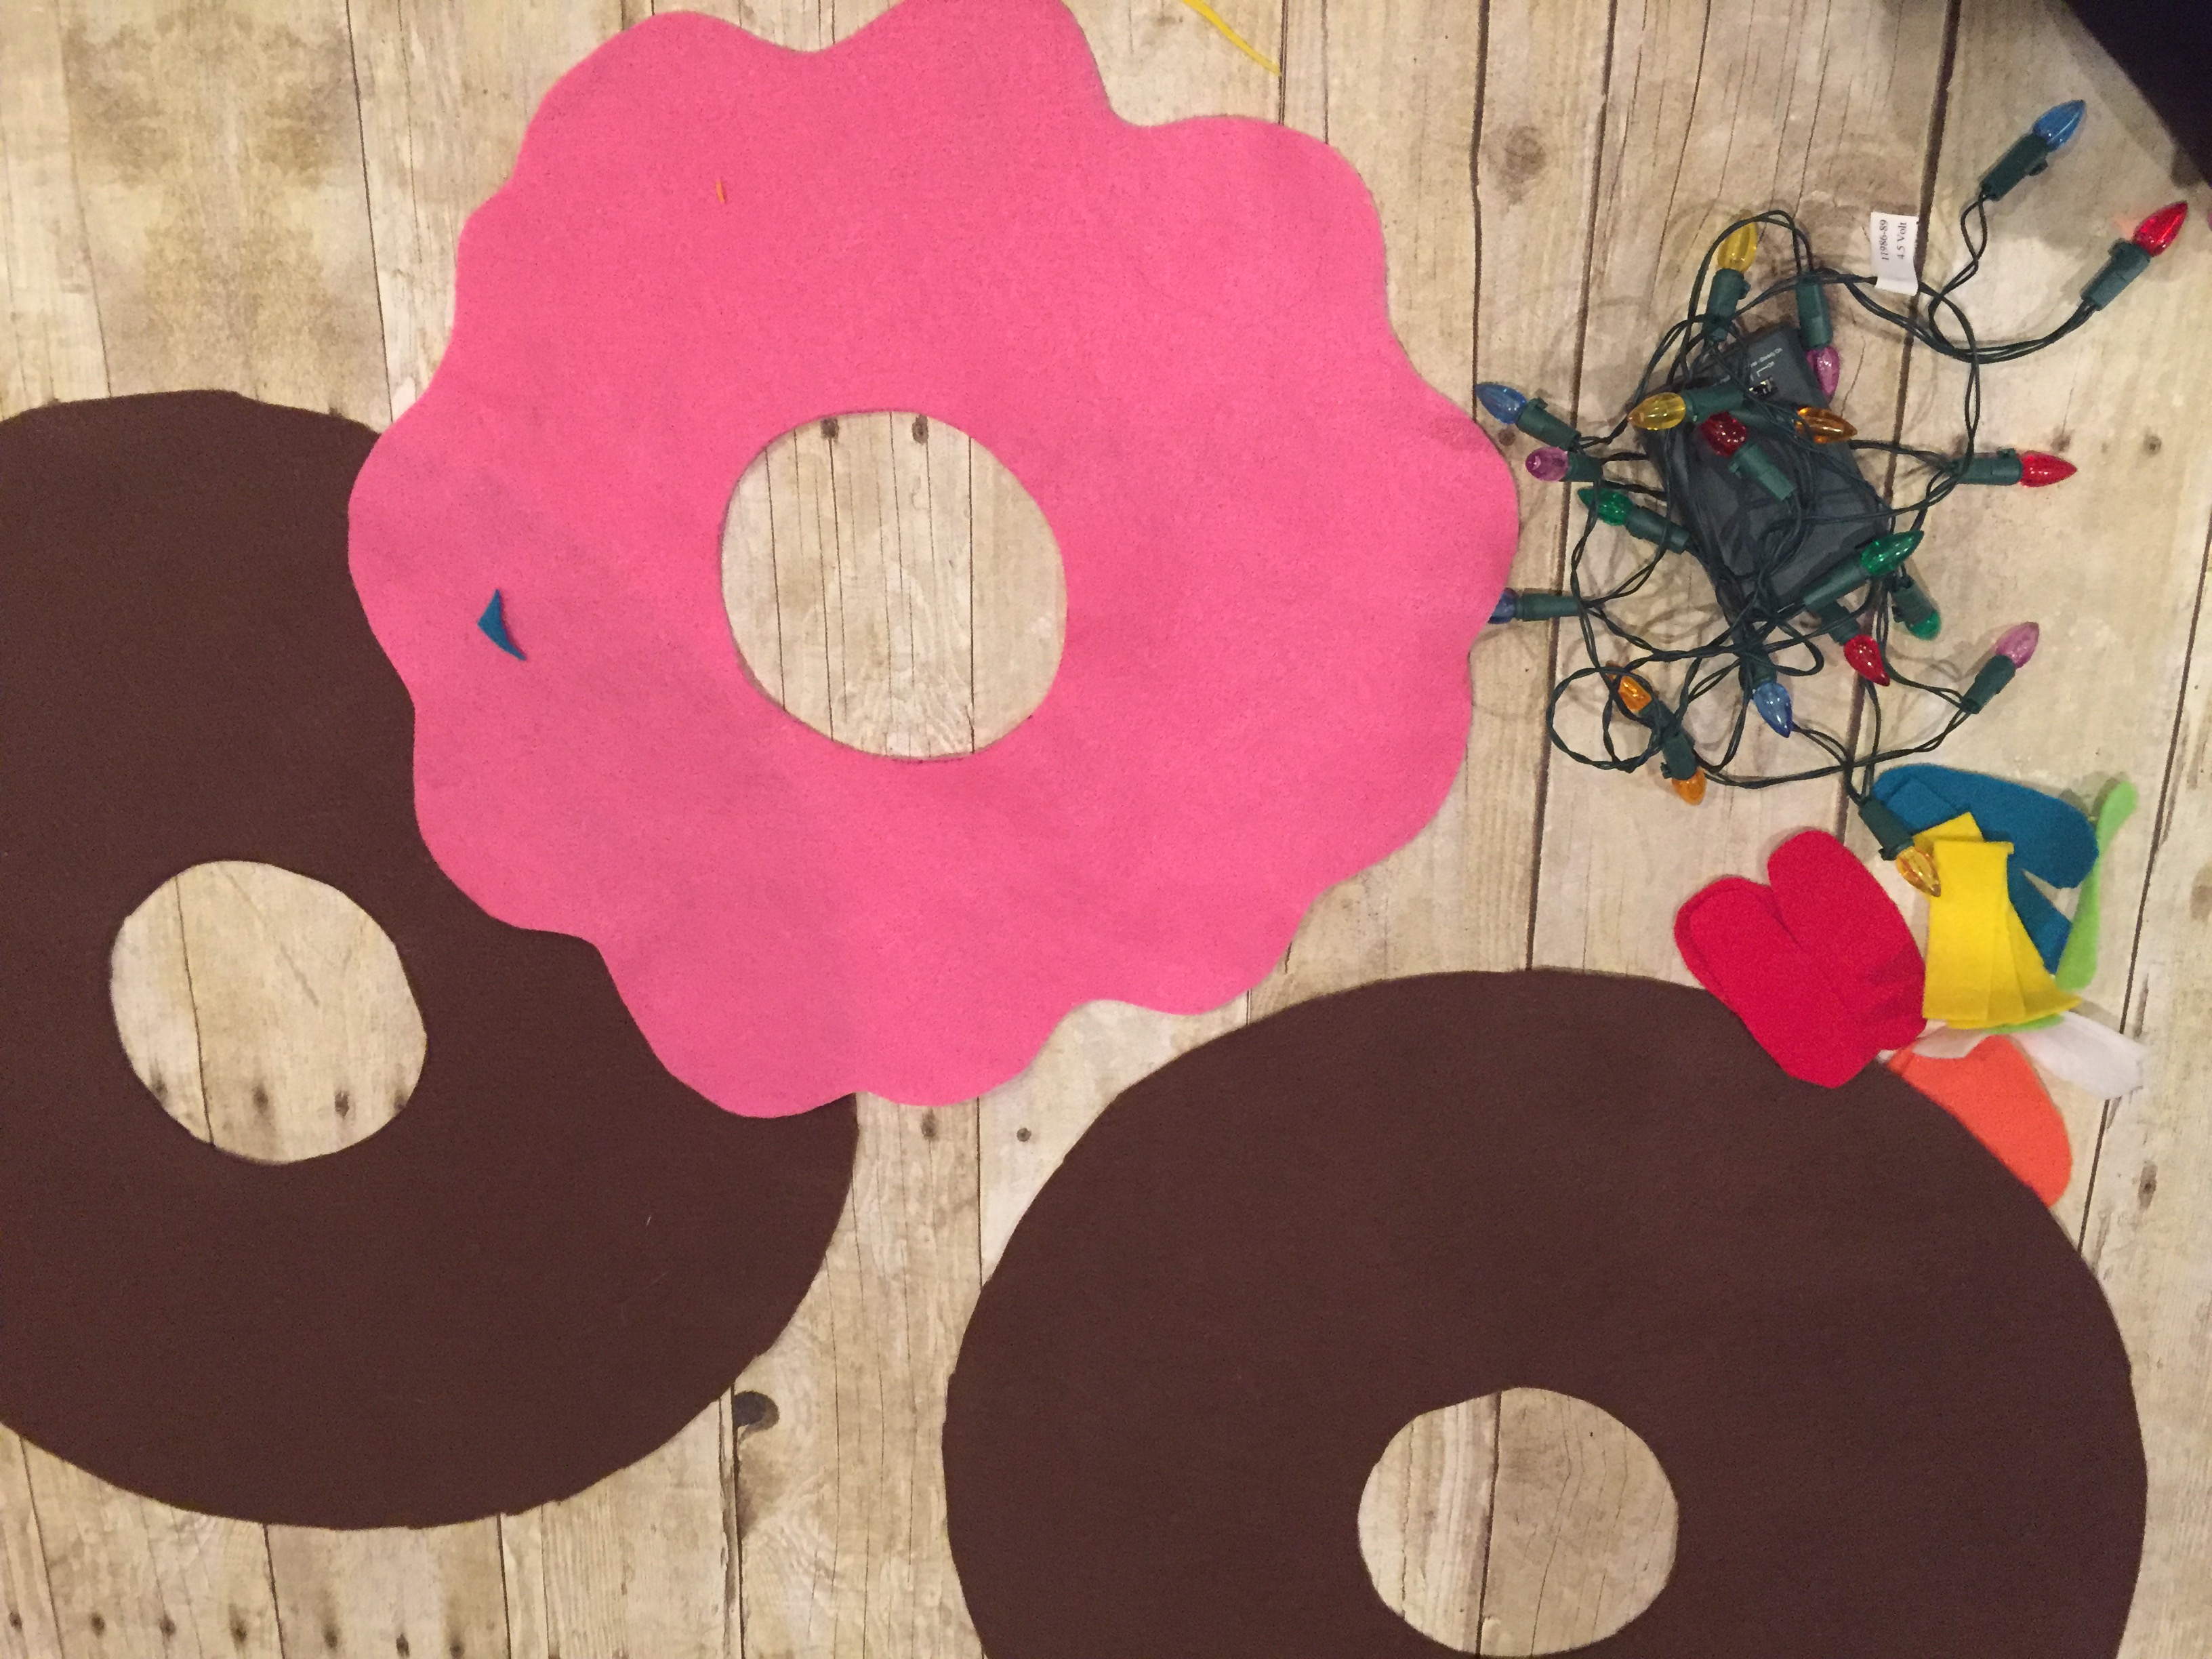
cut out “frosting” shape to be added on the front side of the costume and cut different shaped (or same shaped) sprinkles from felt fabric. Keep battery operated lights on hand and insert batteries if needed.
Step 3:
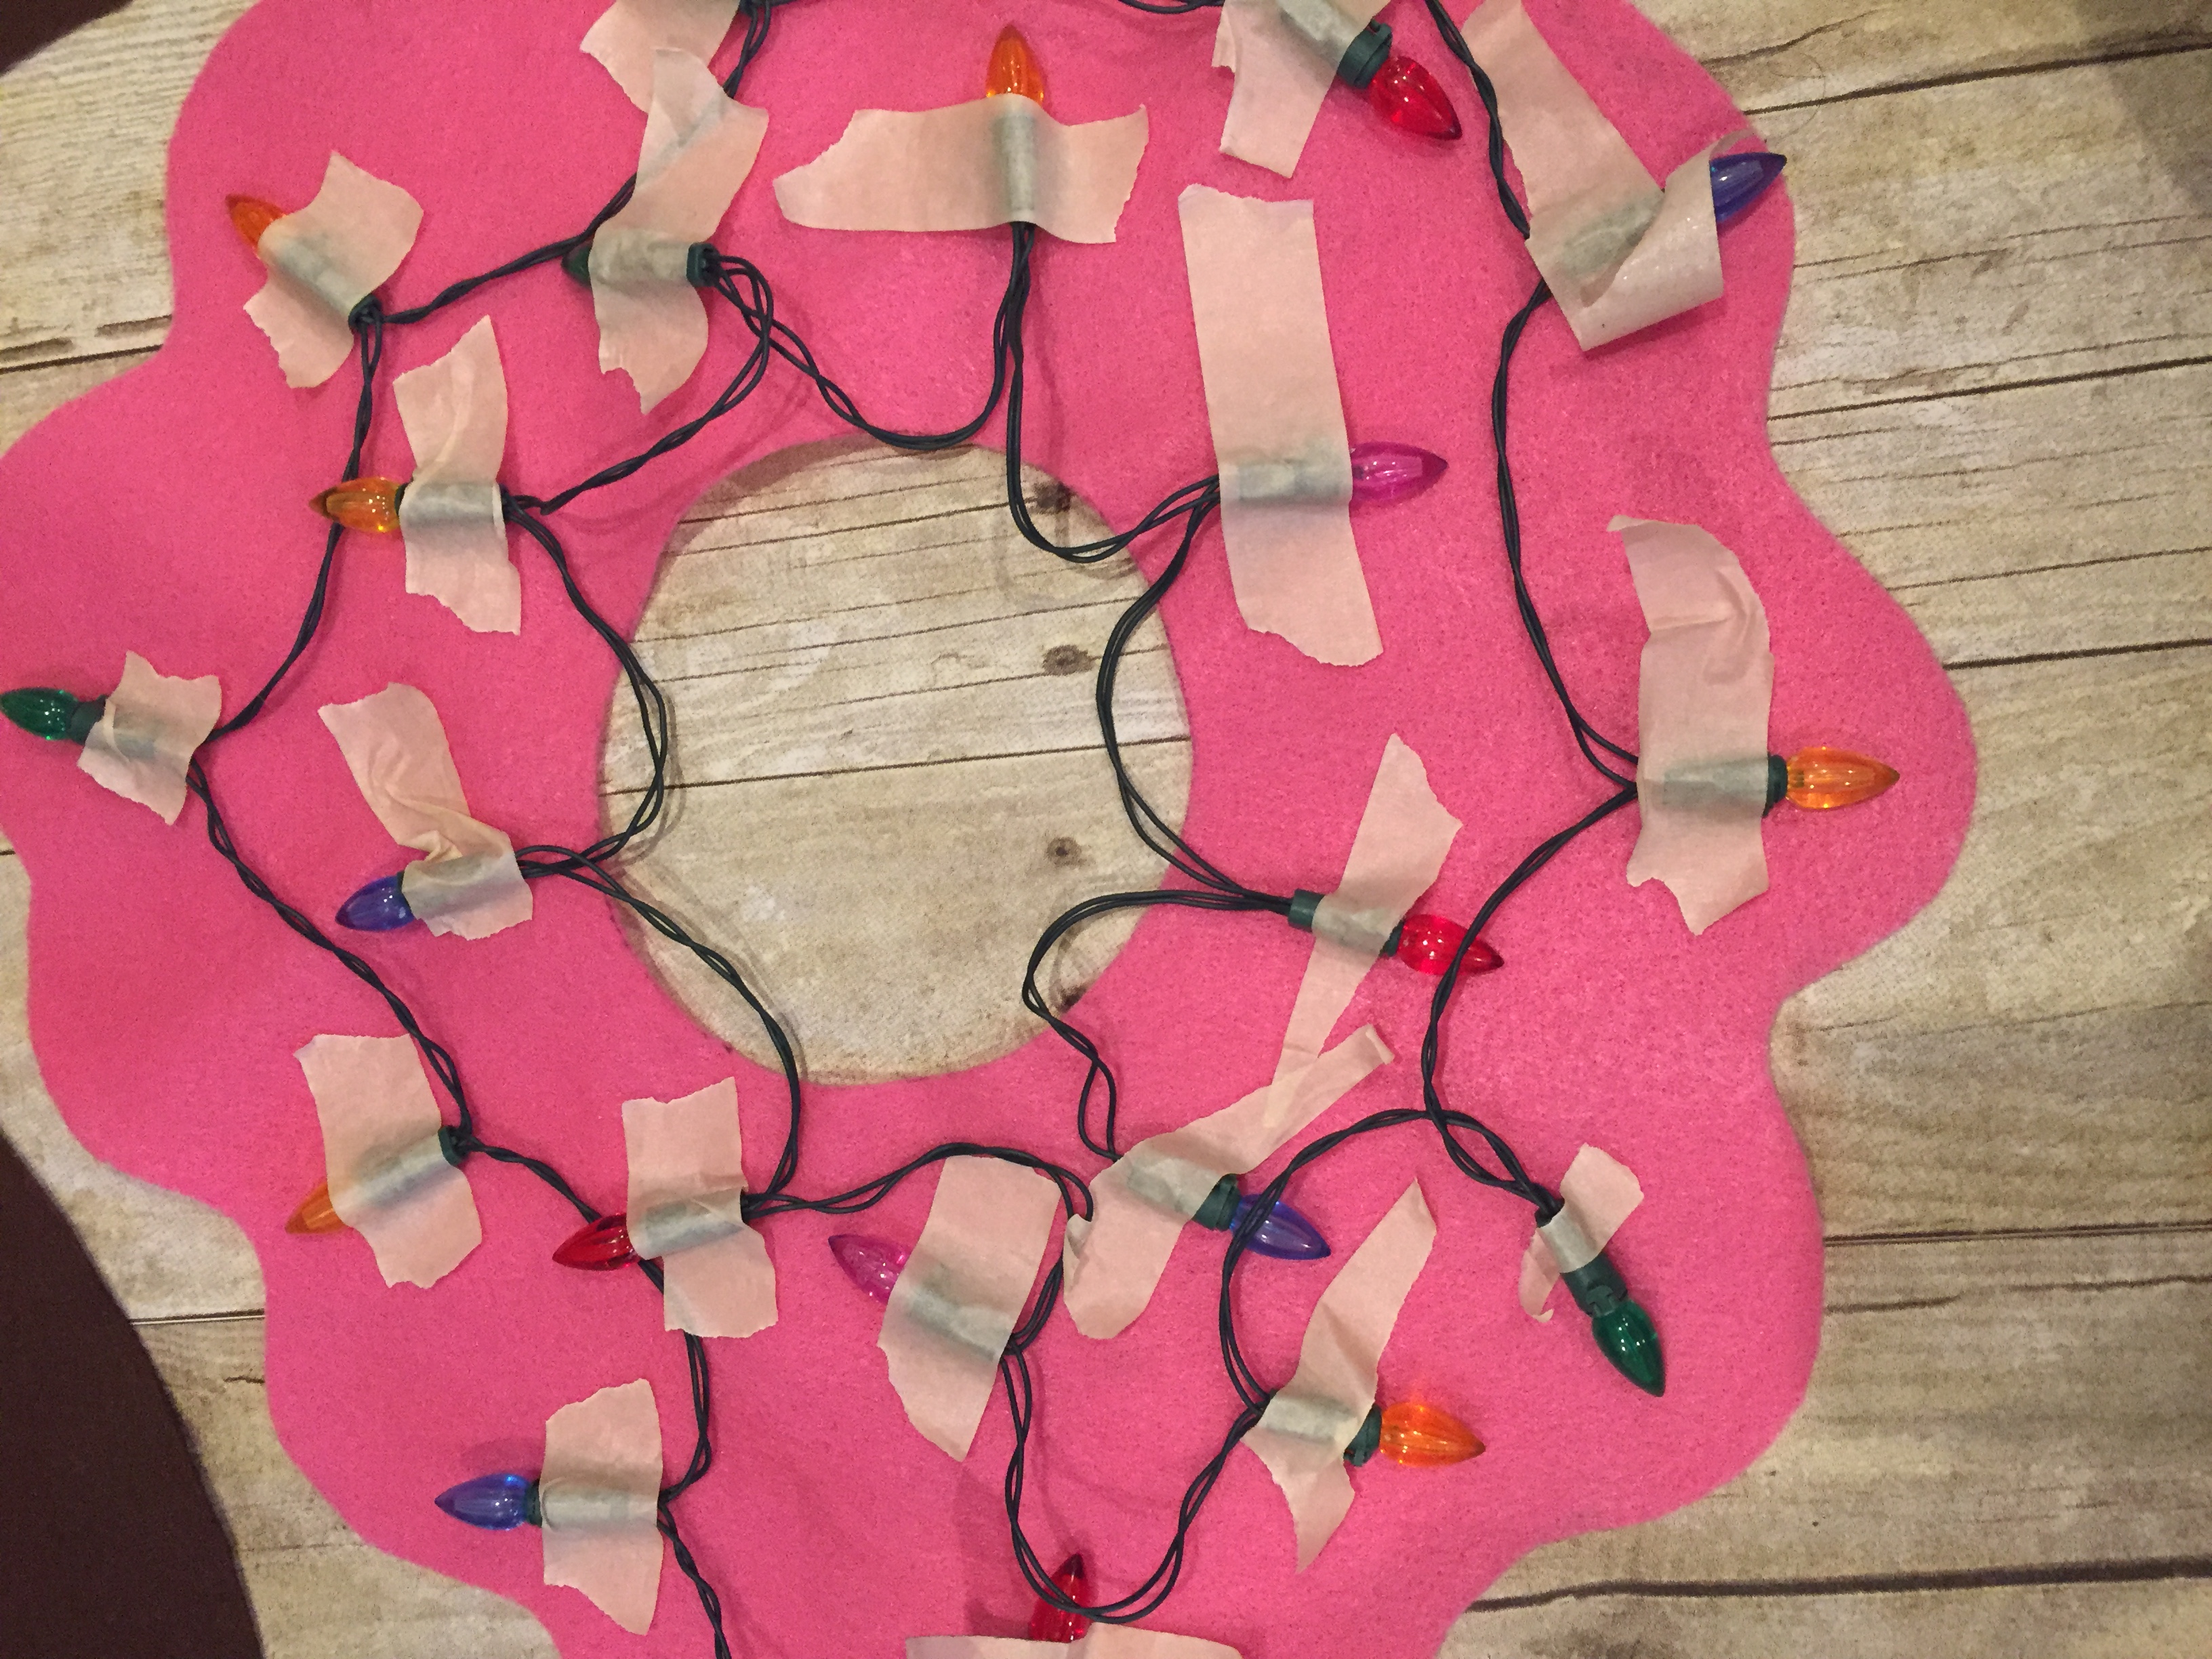
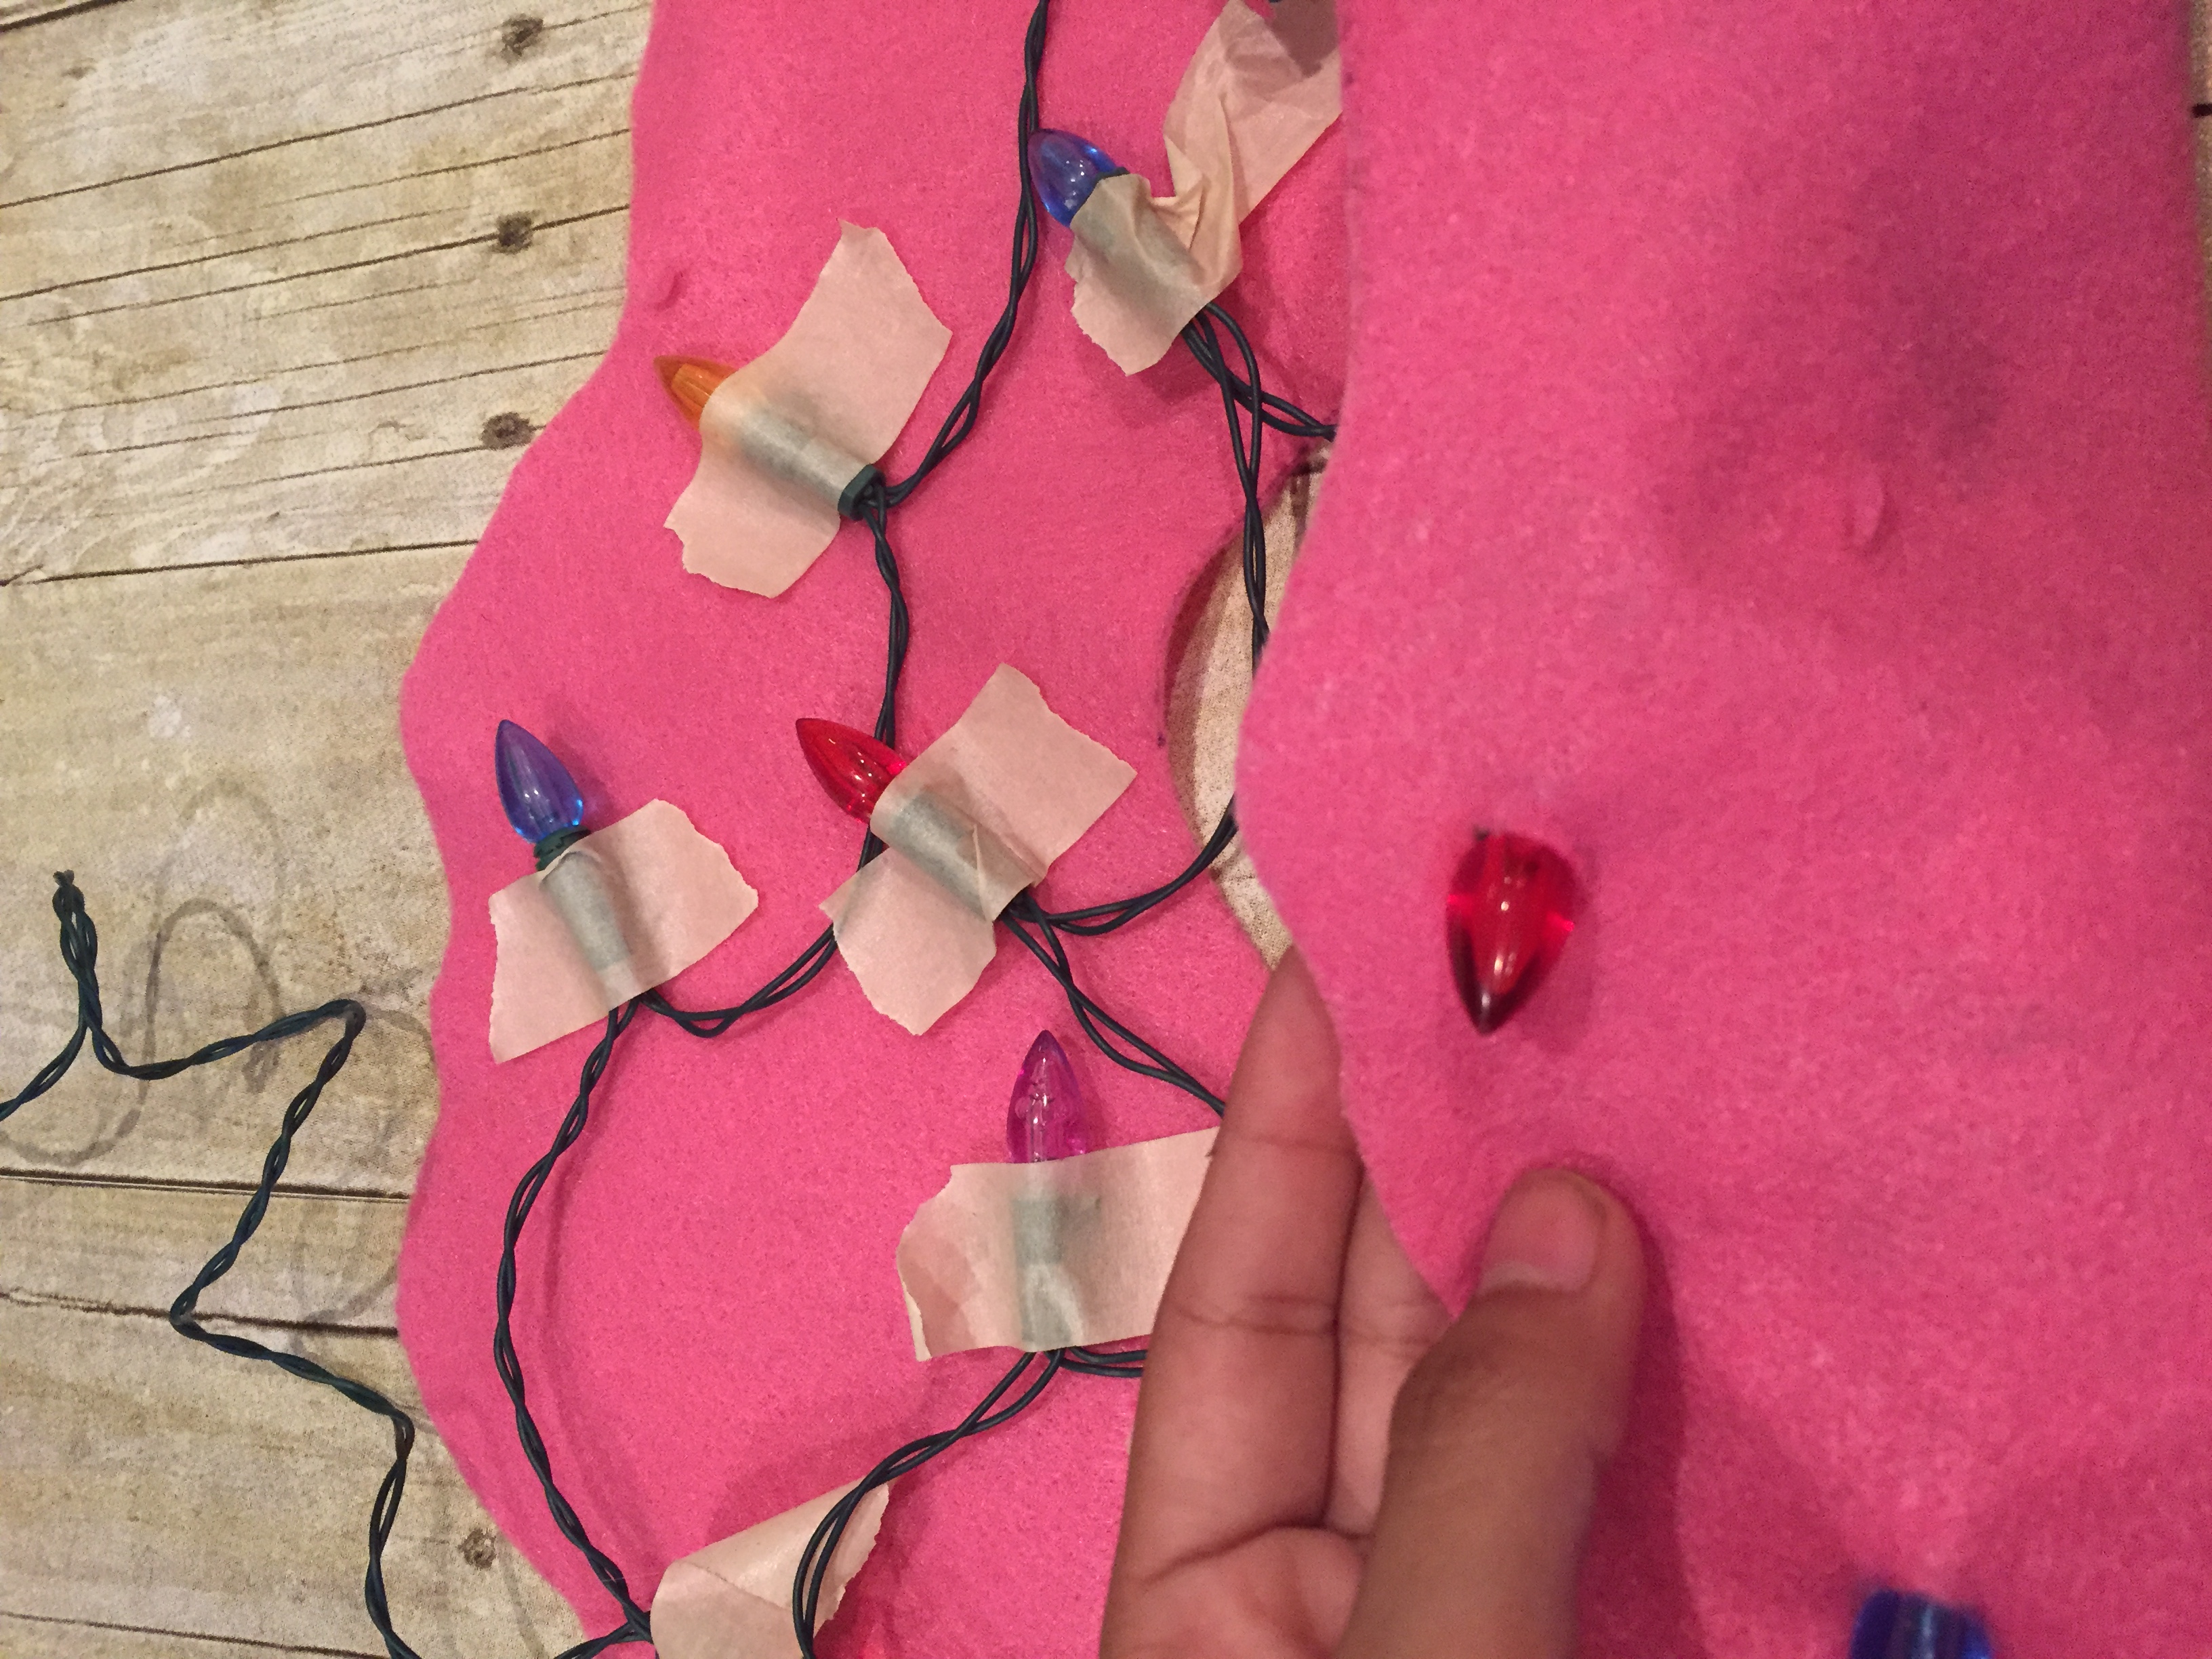
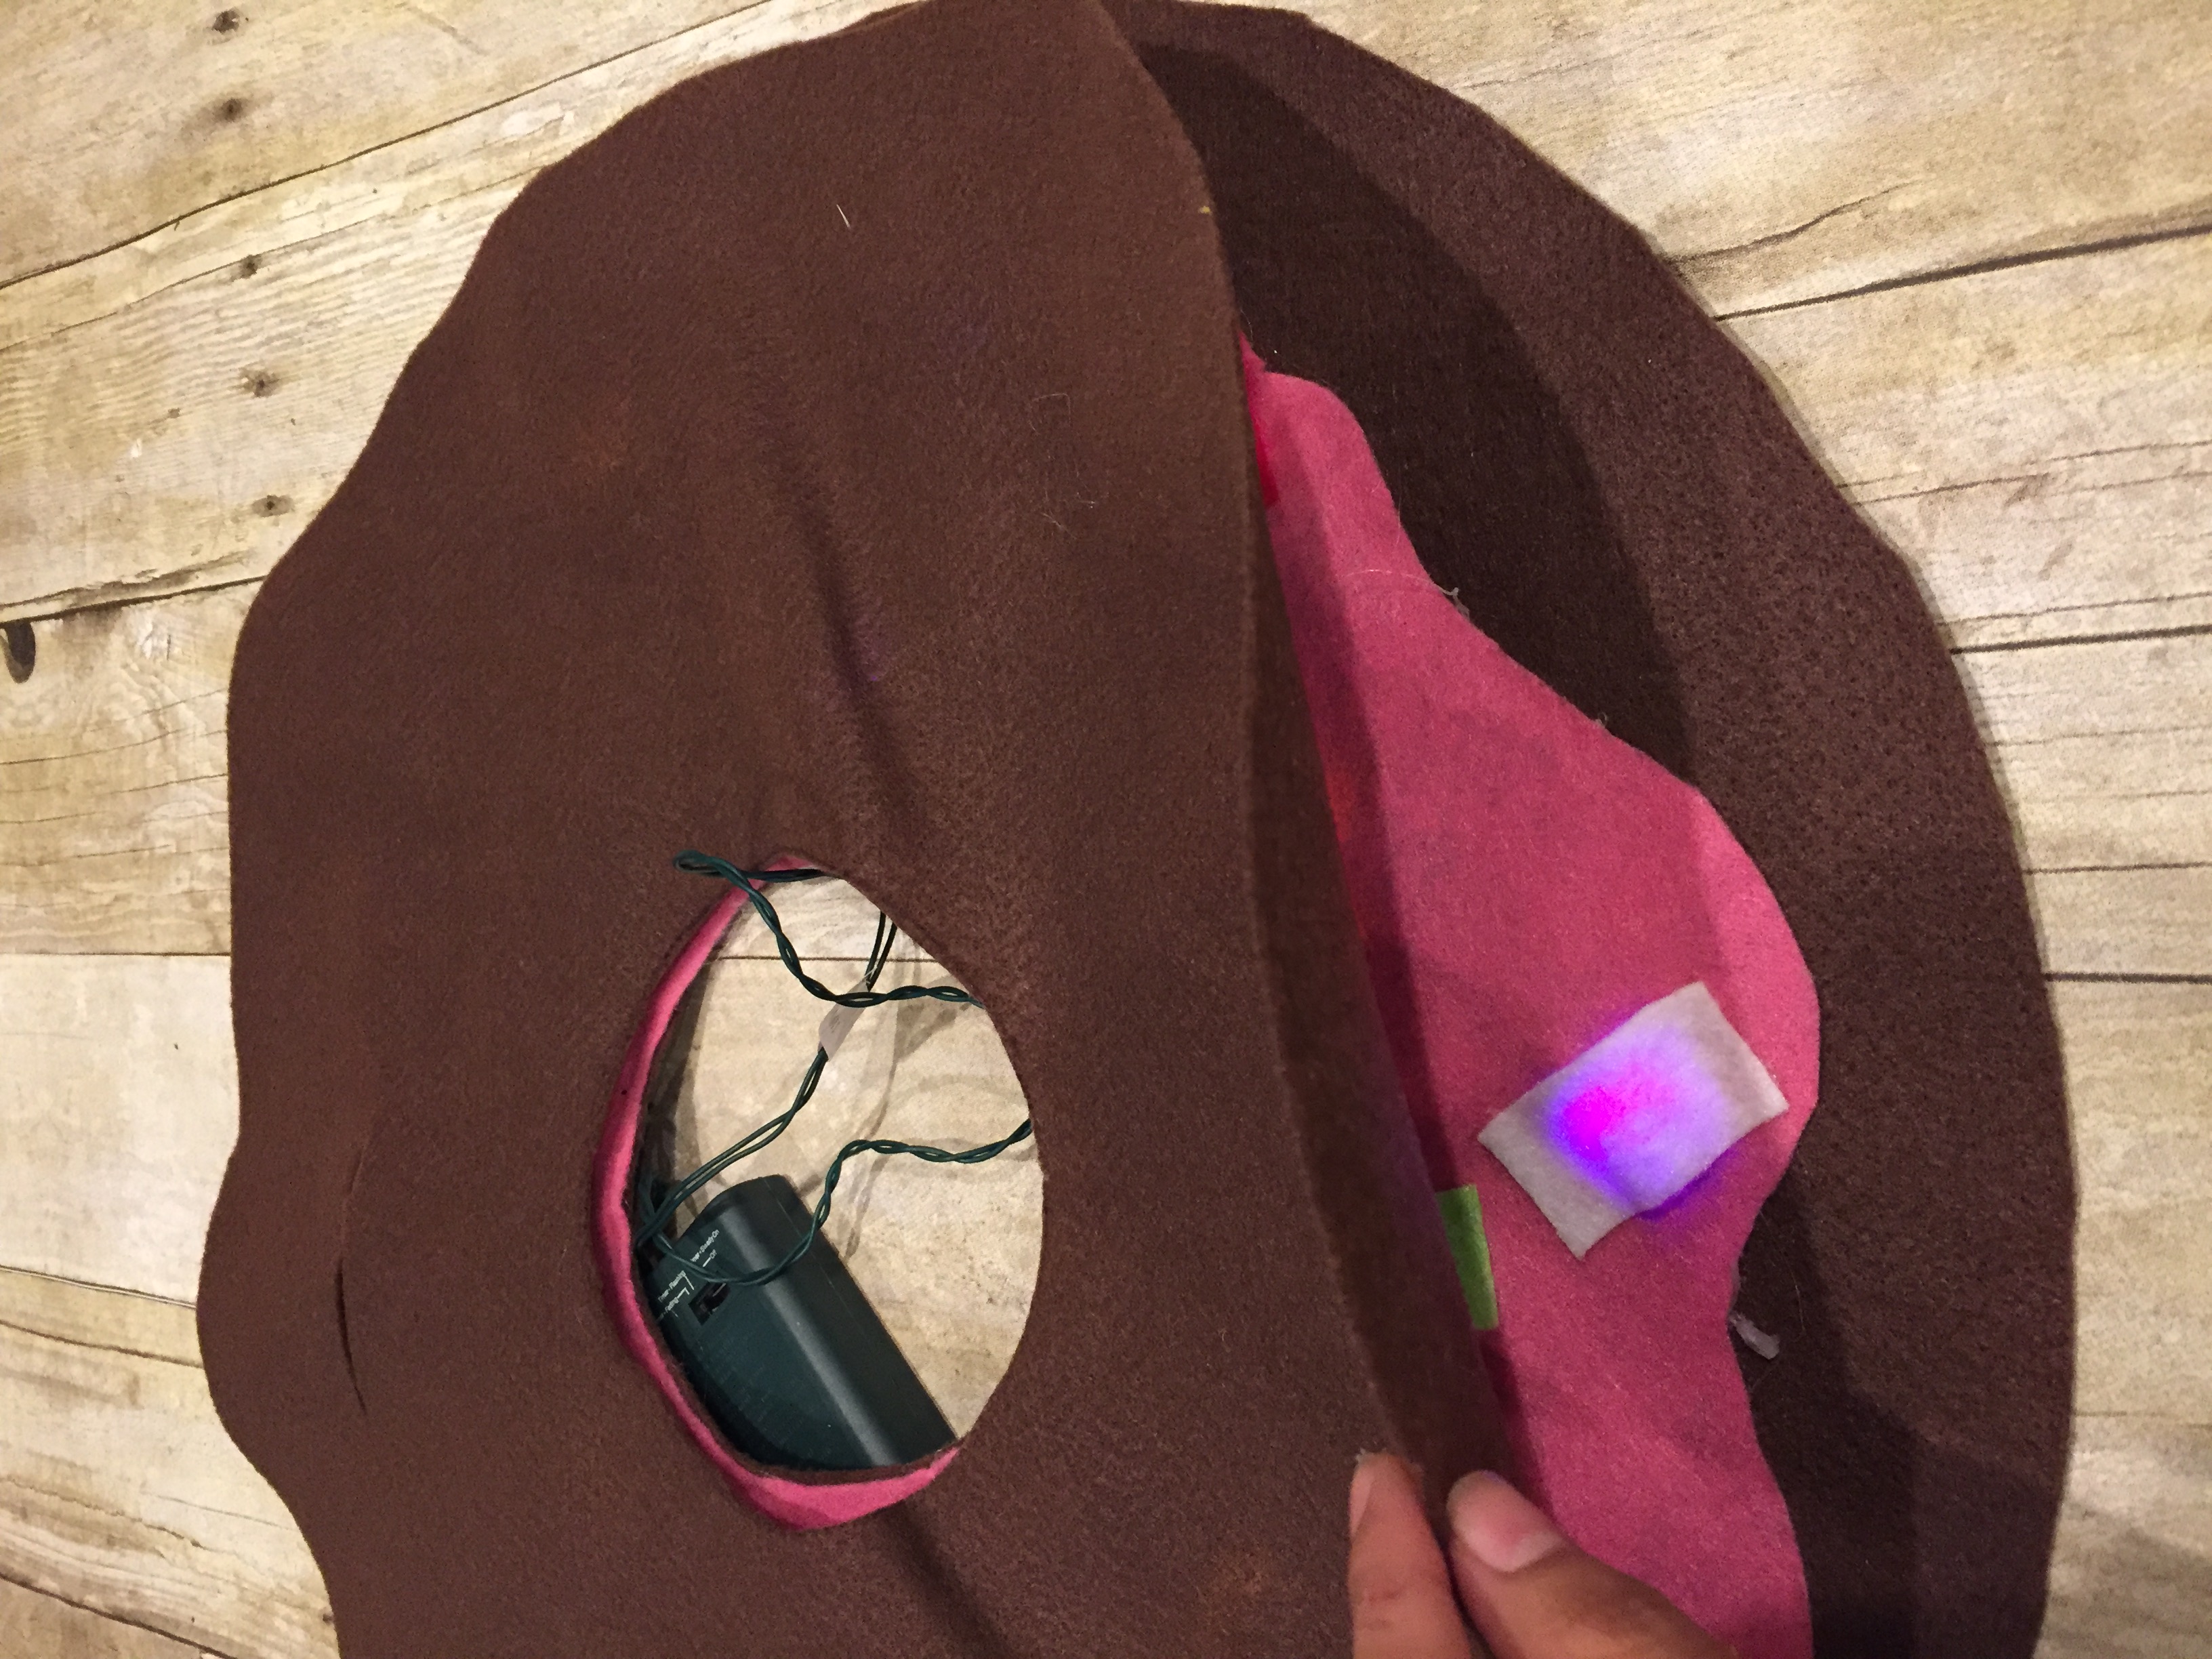
I placed lights and taped them down onto the BACK side of the frosting in the pattern I wanted them making sure they were spaced out evenly and the colors were distributed in different places.
Step 4:
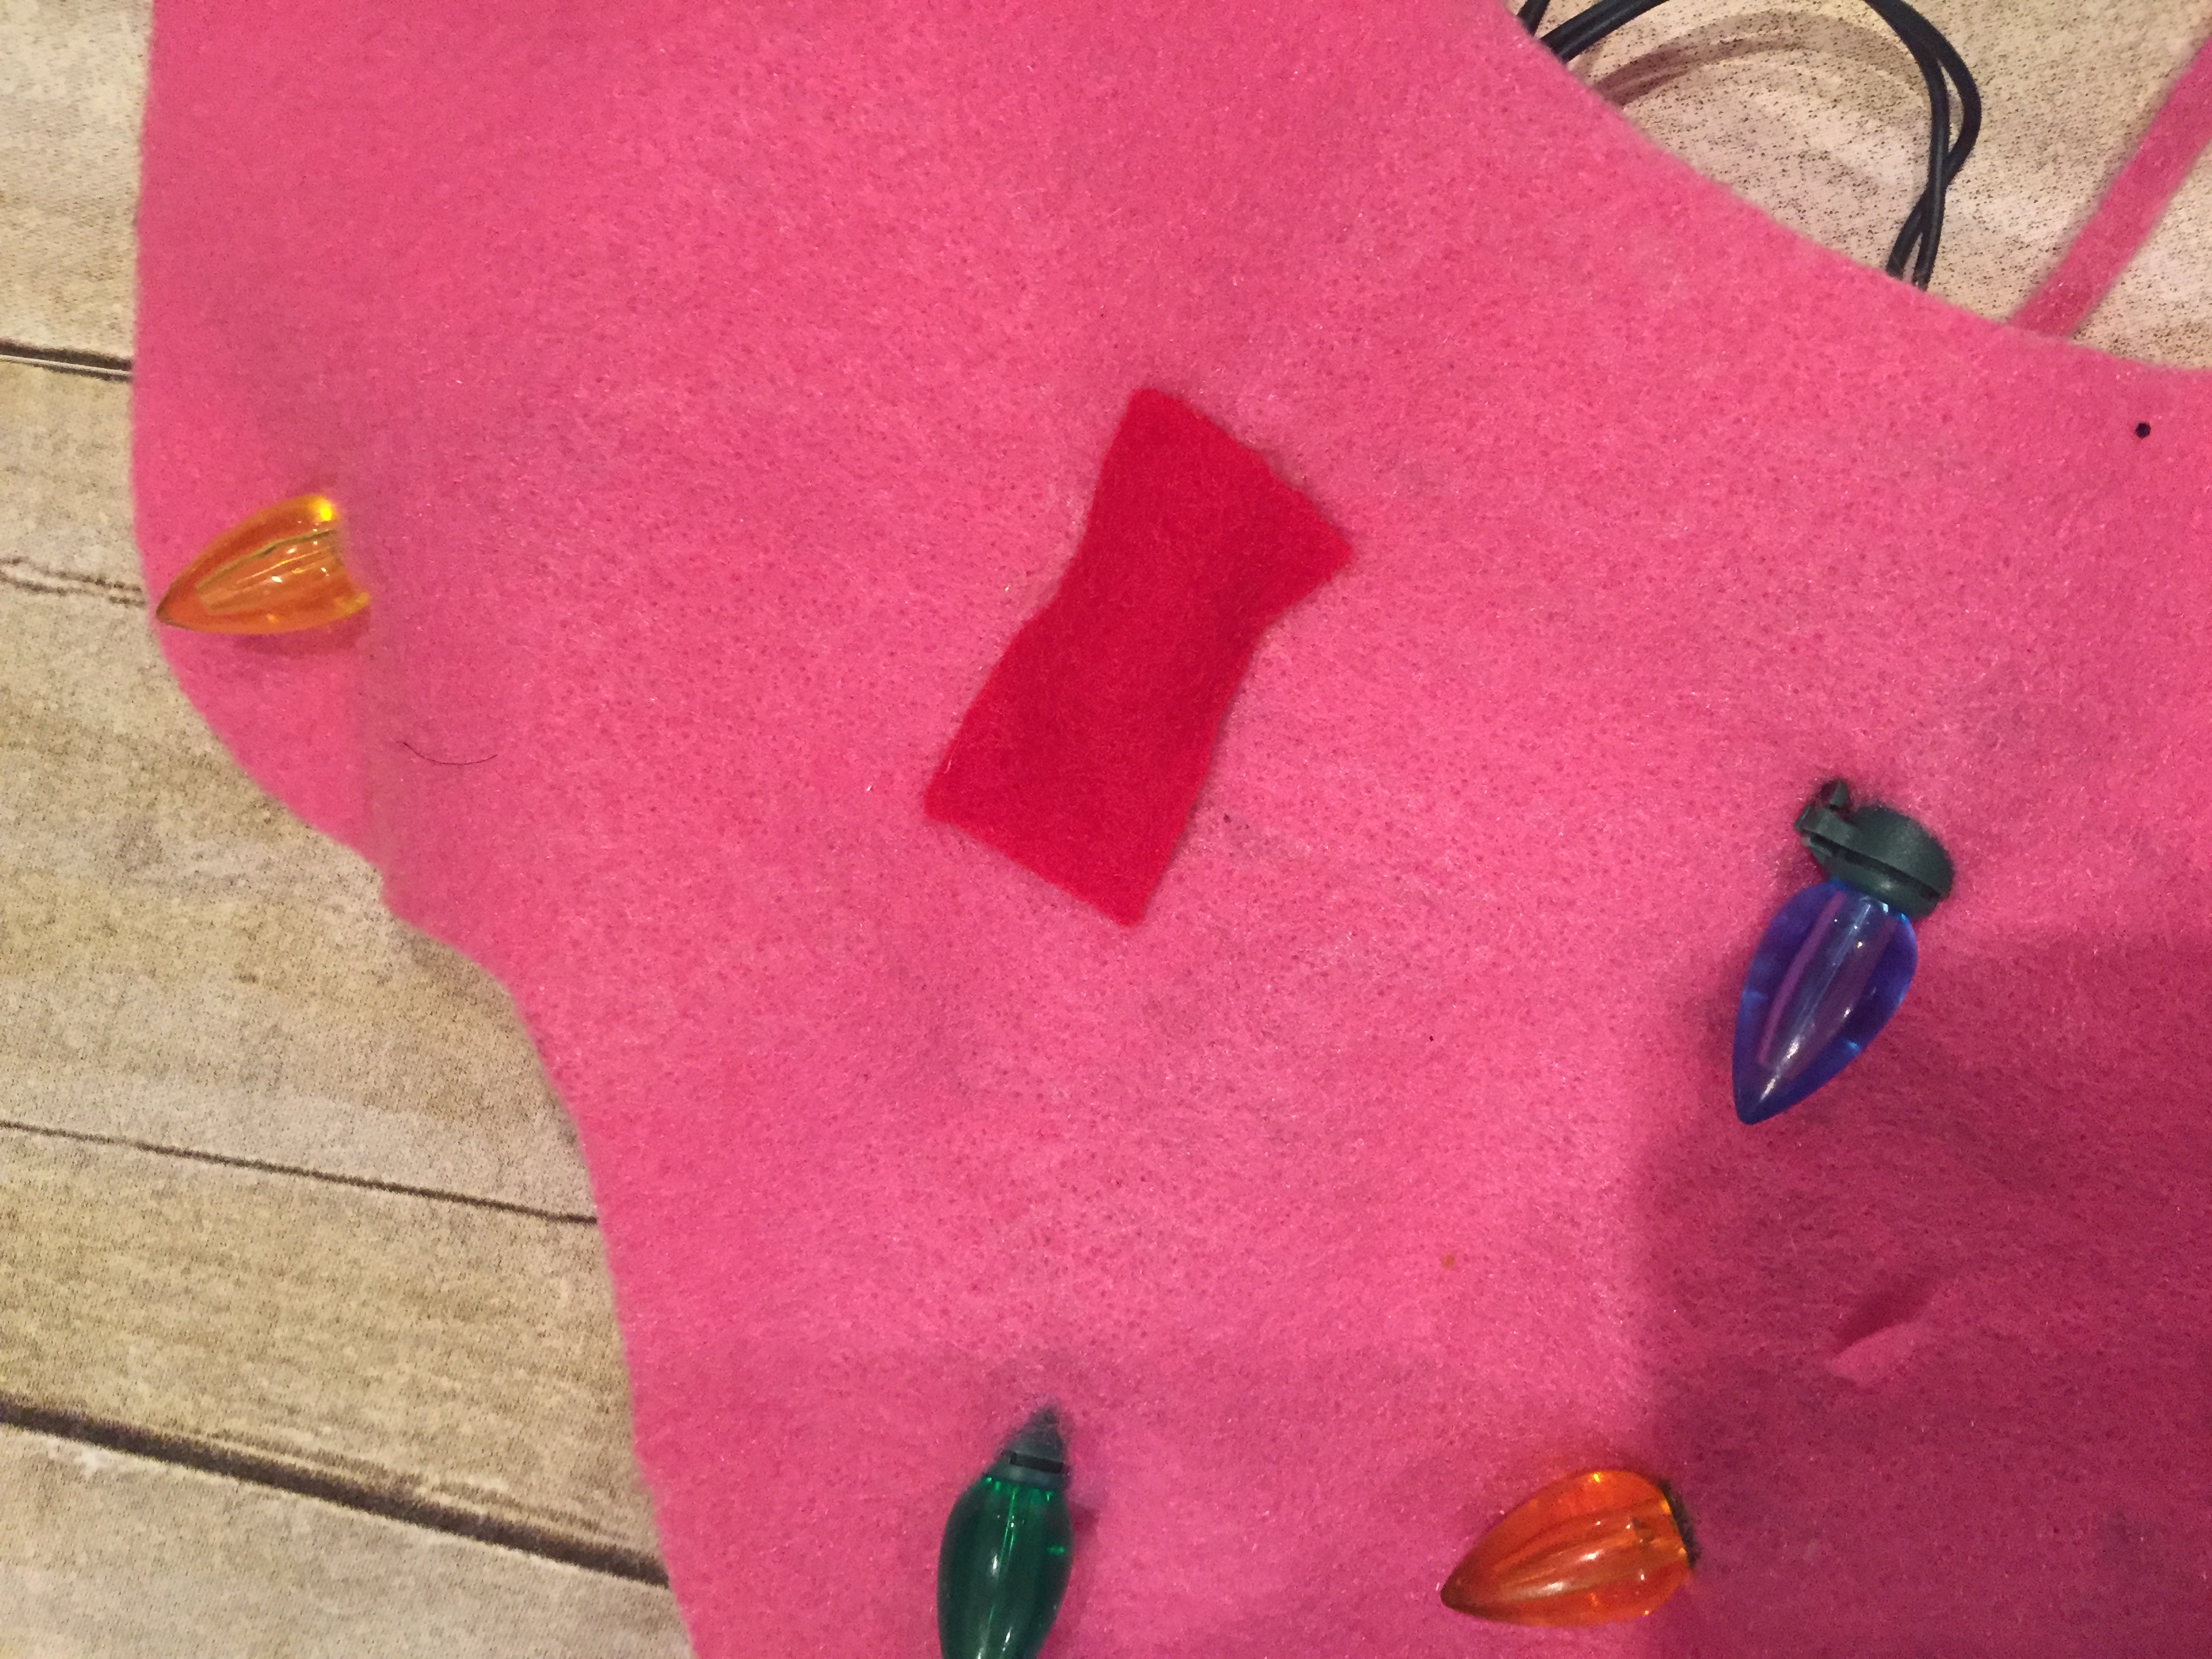
I flipped the frosting over to the face (front) side and cut small slits to peek the HEAD/BULB of the lights from the back of the frosting onto the front.
Step 5:
I hot glued the felt “sprinkles” over the light bulbs. This helped secure the lights in place also.
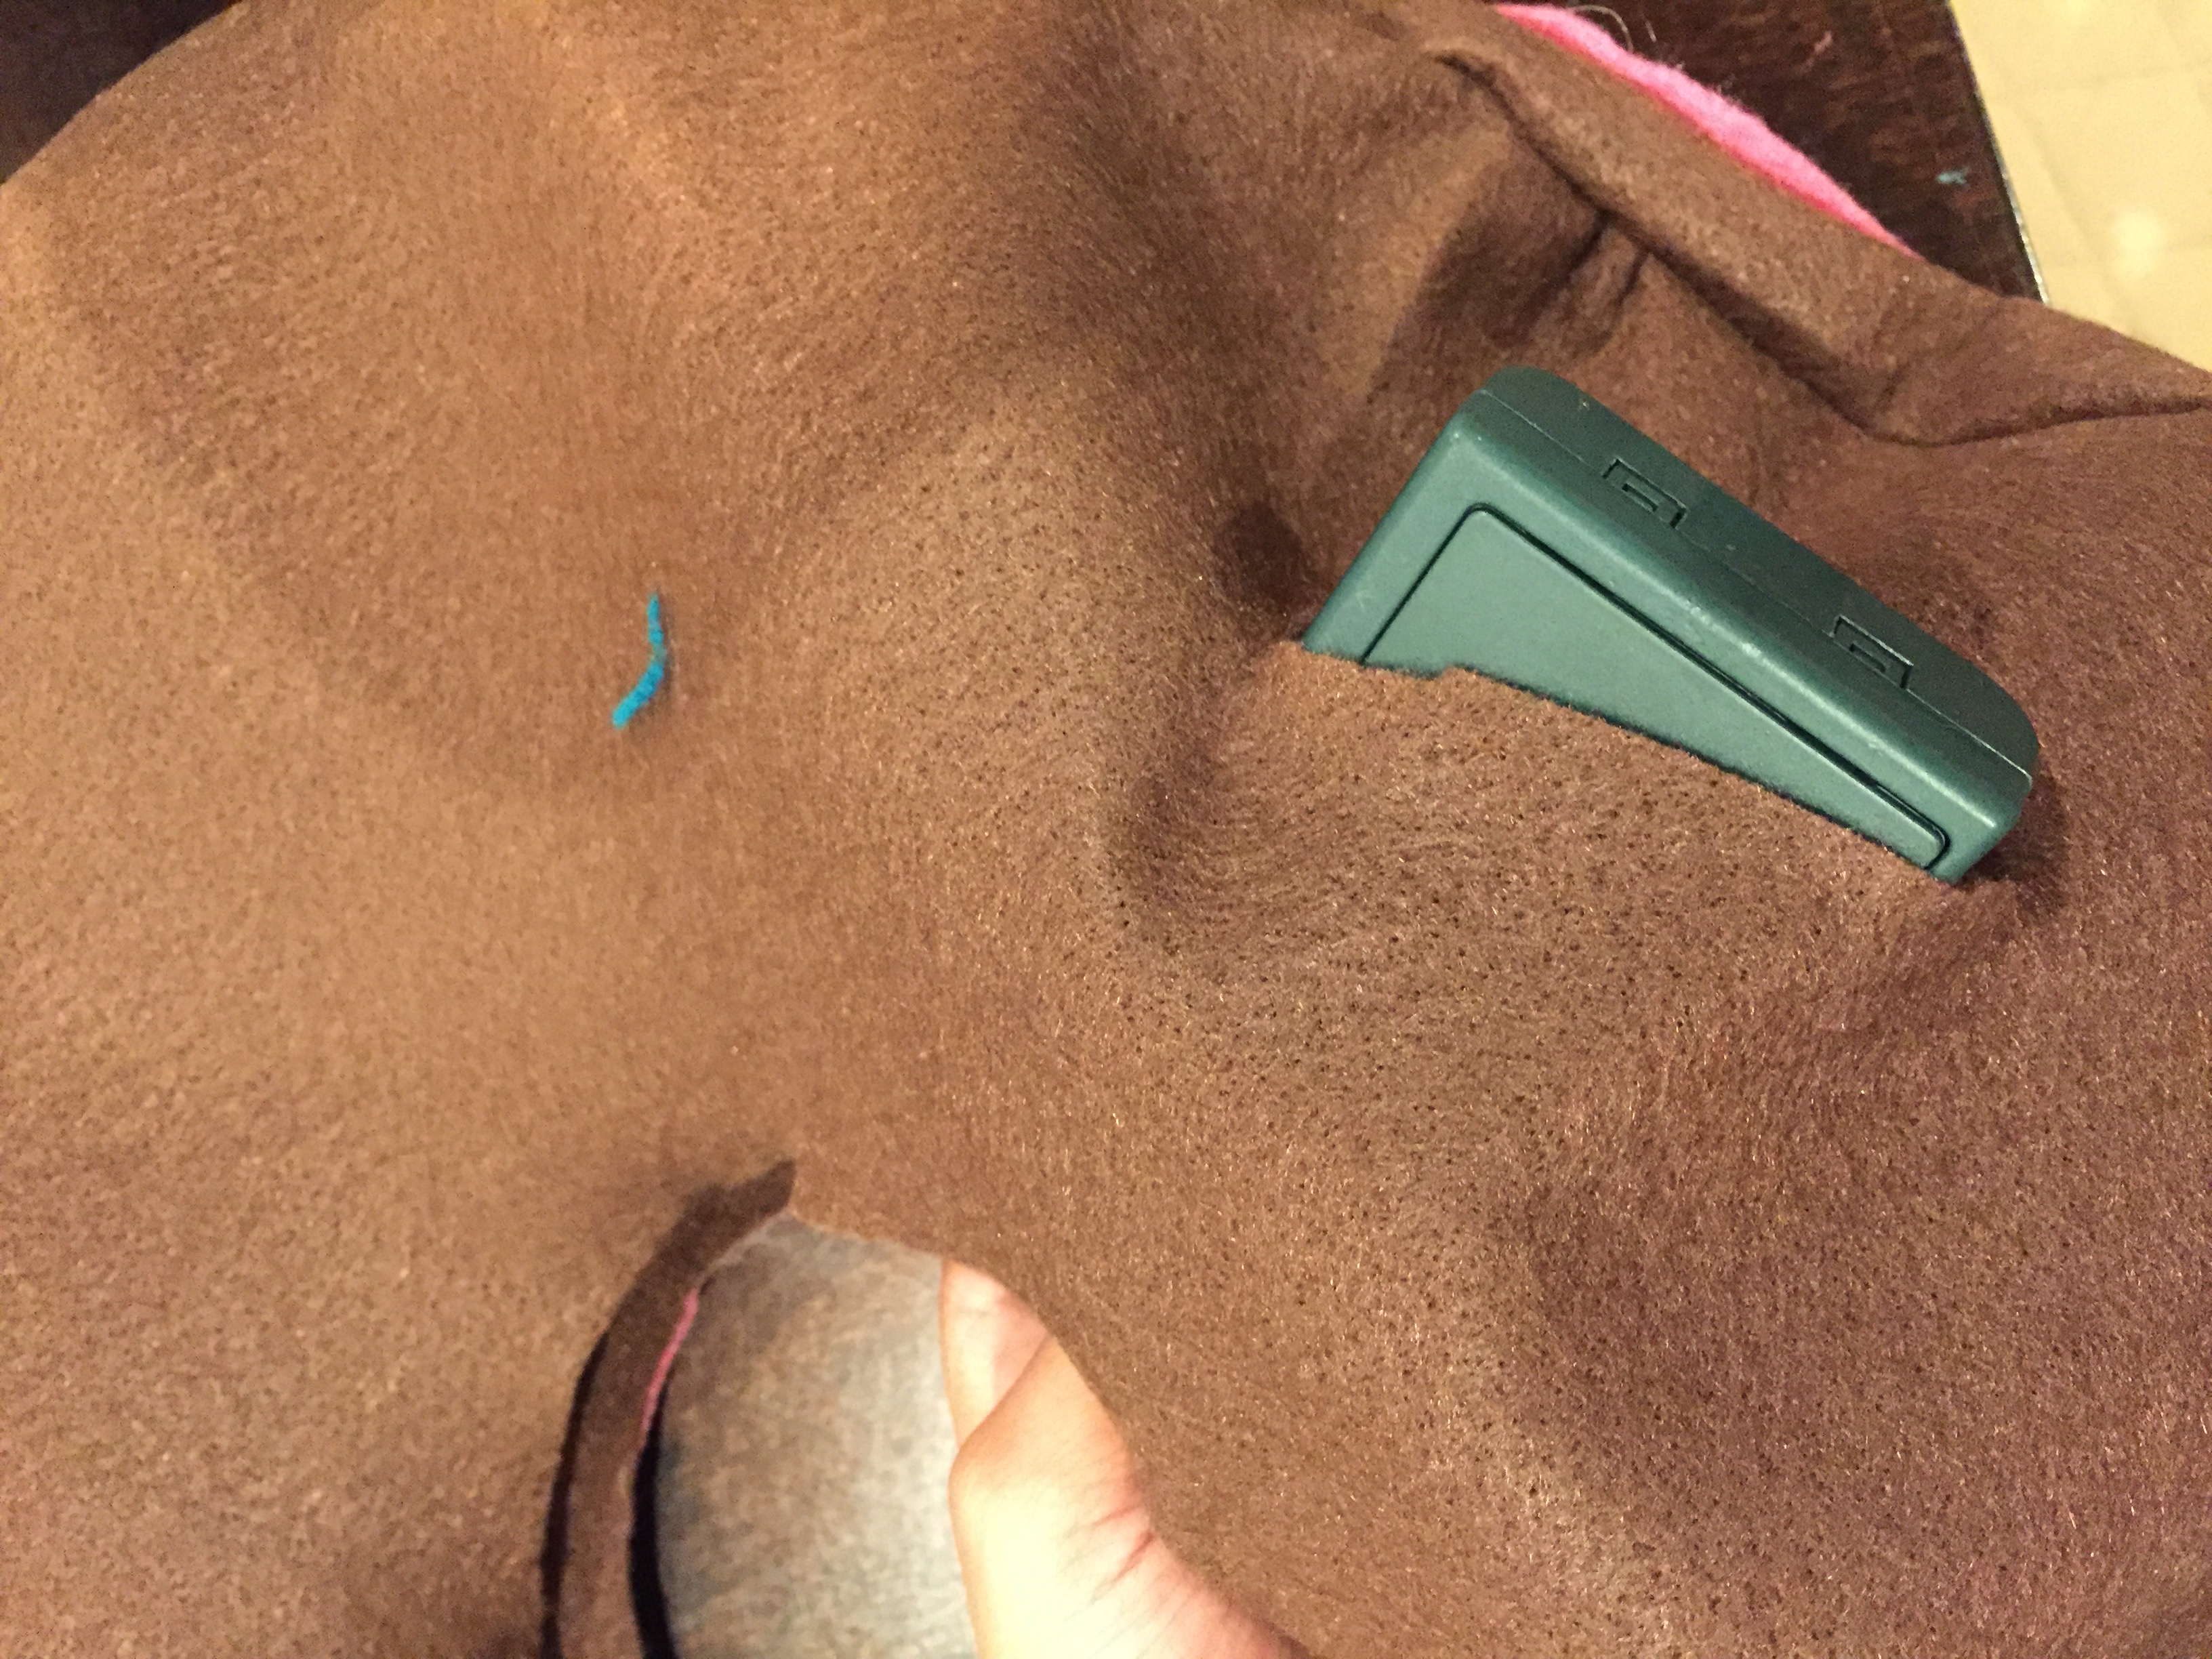
Step 6:
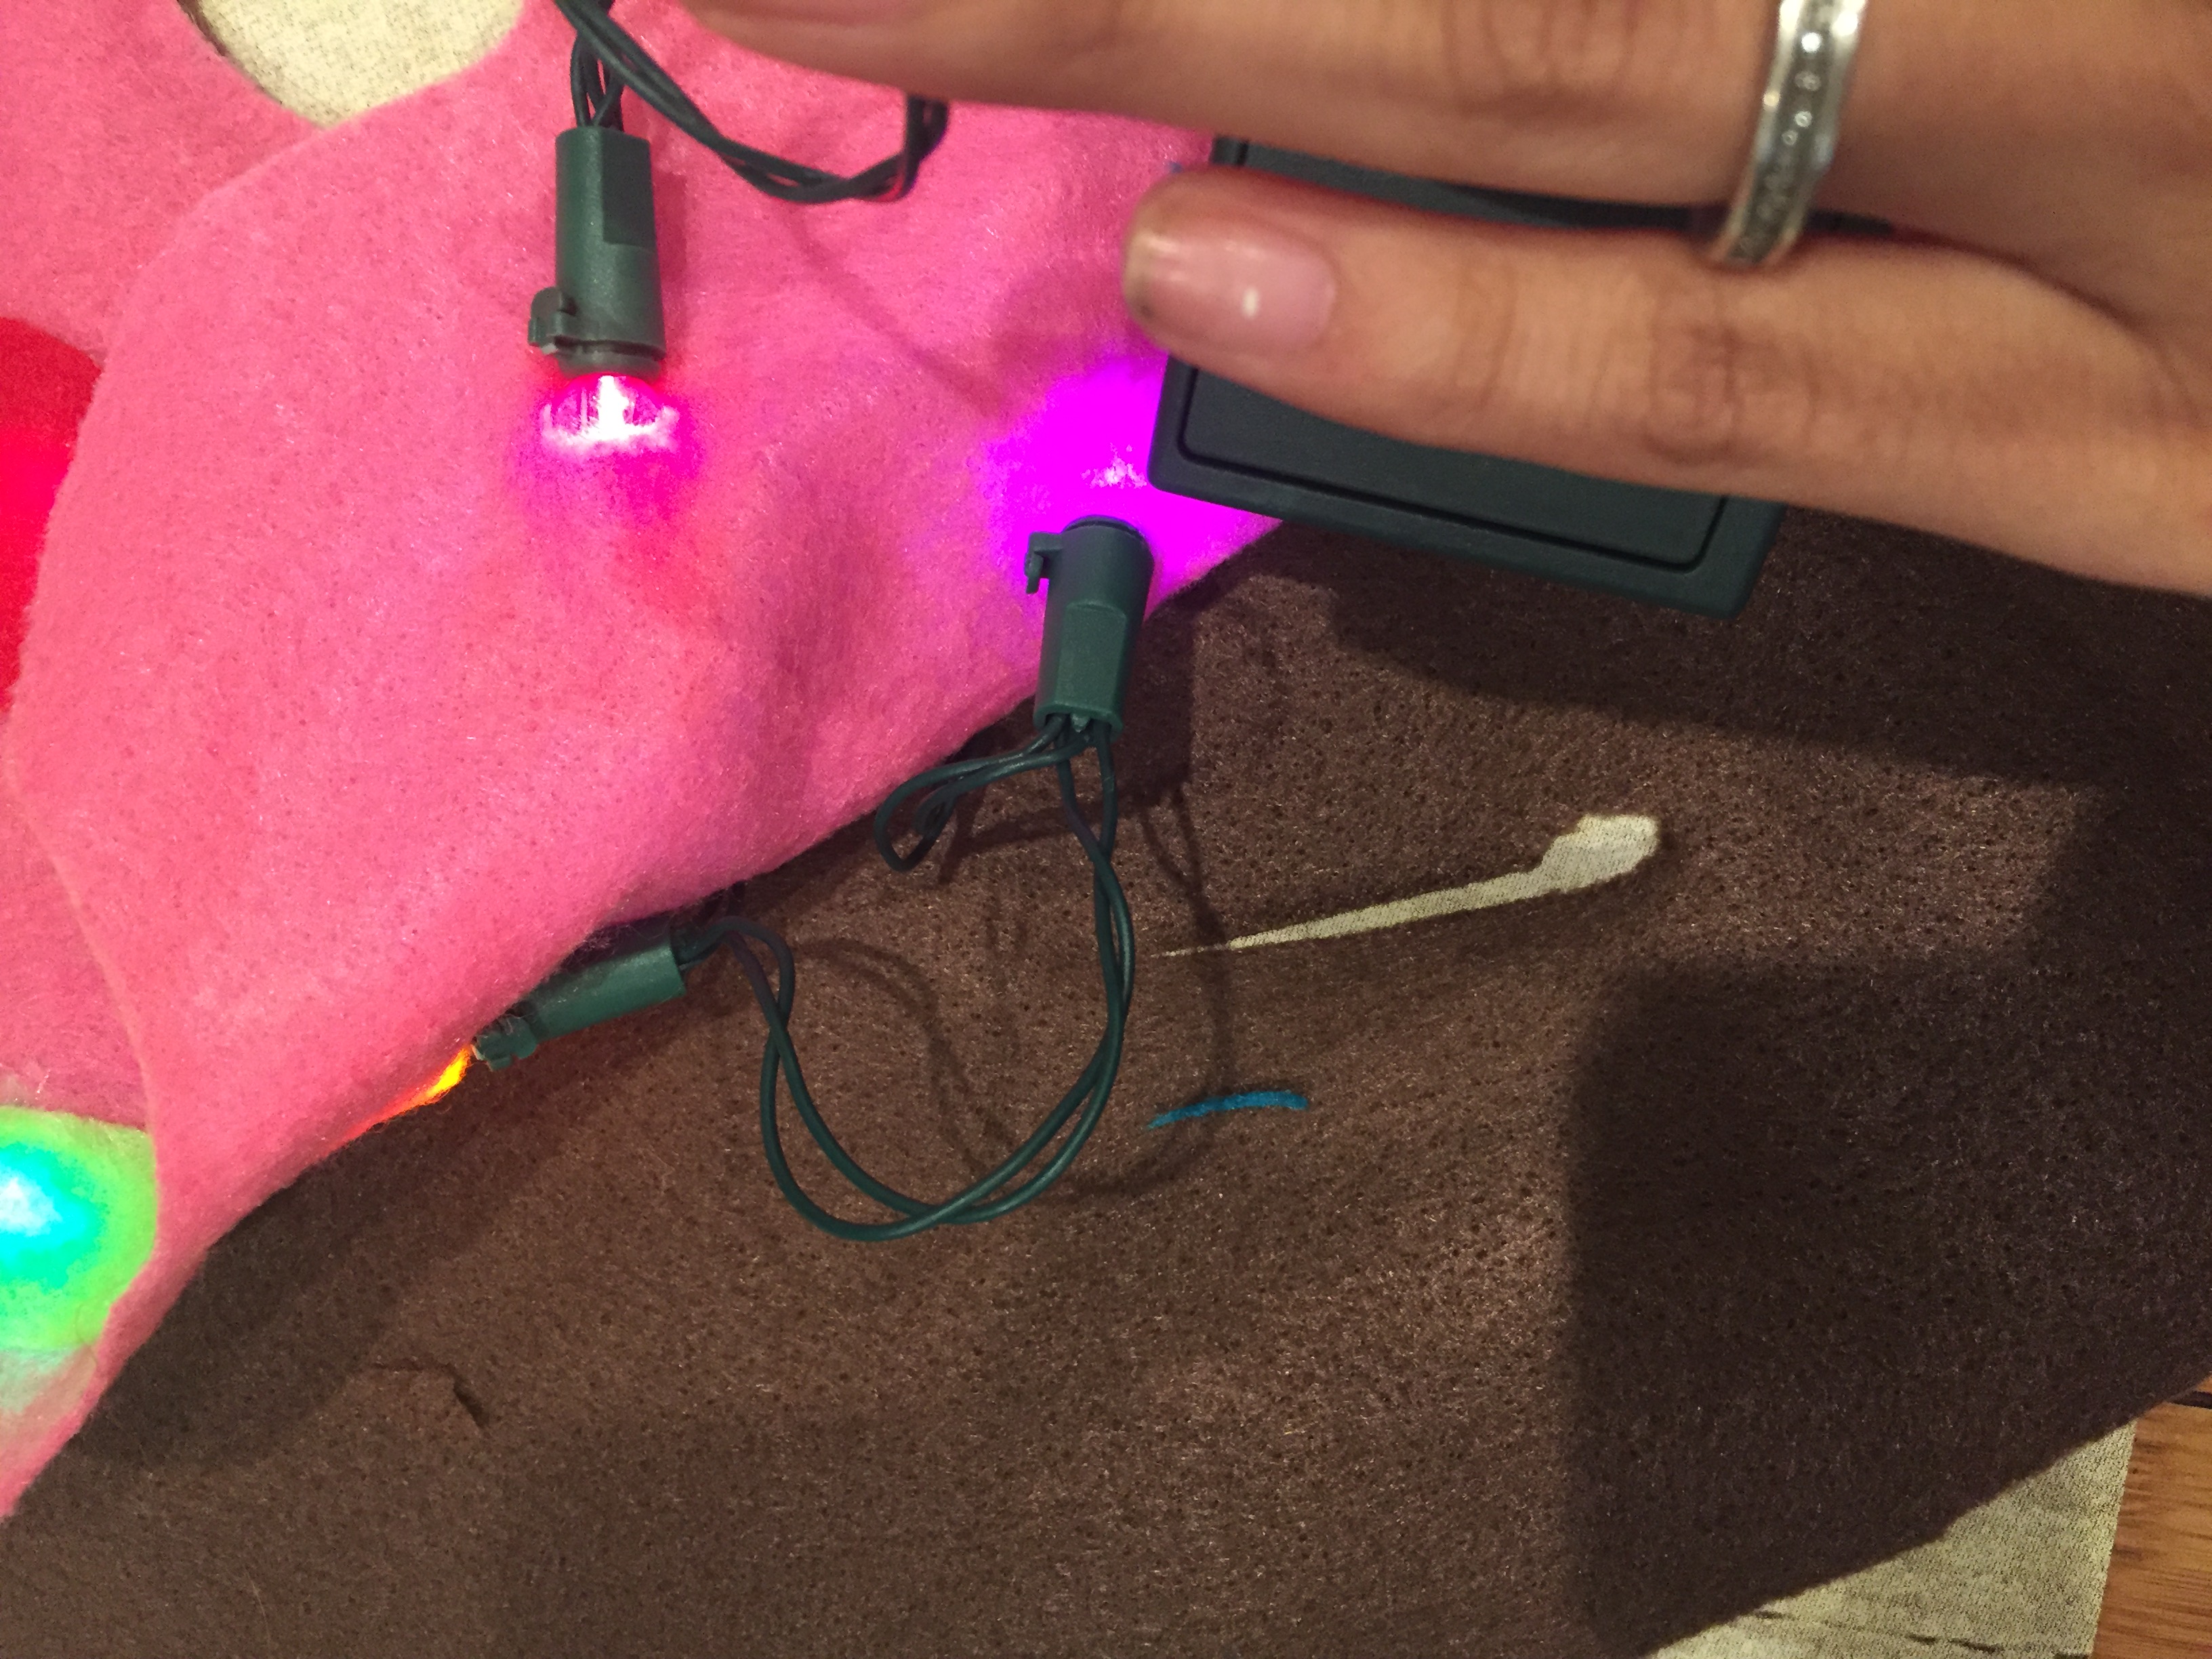
Before hot glueling the “frosting” onto the donut, I cut a slit big enough to slip the battery pack though the backside of the donut so the wire wouldn’t hang out from the front.
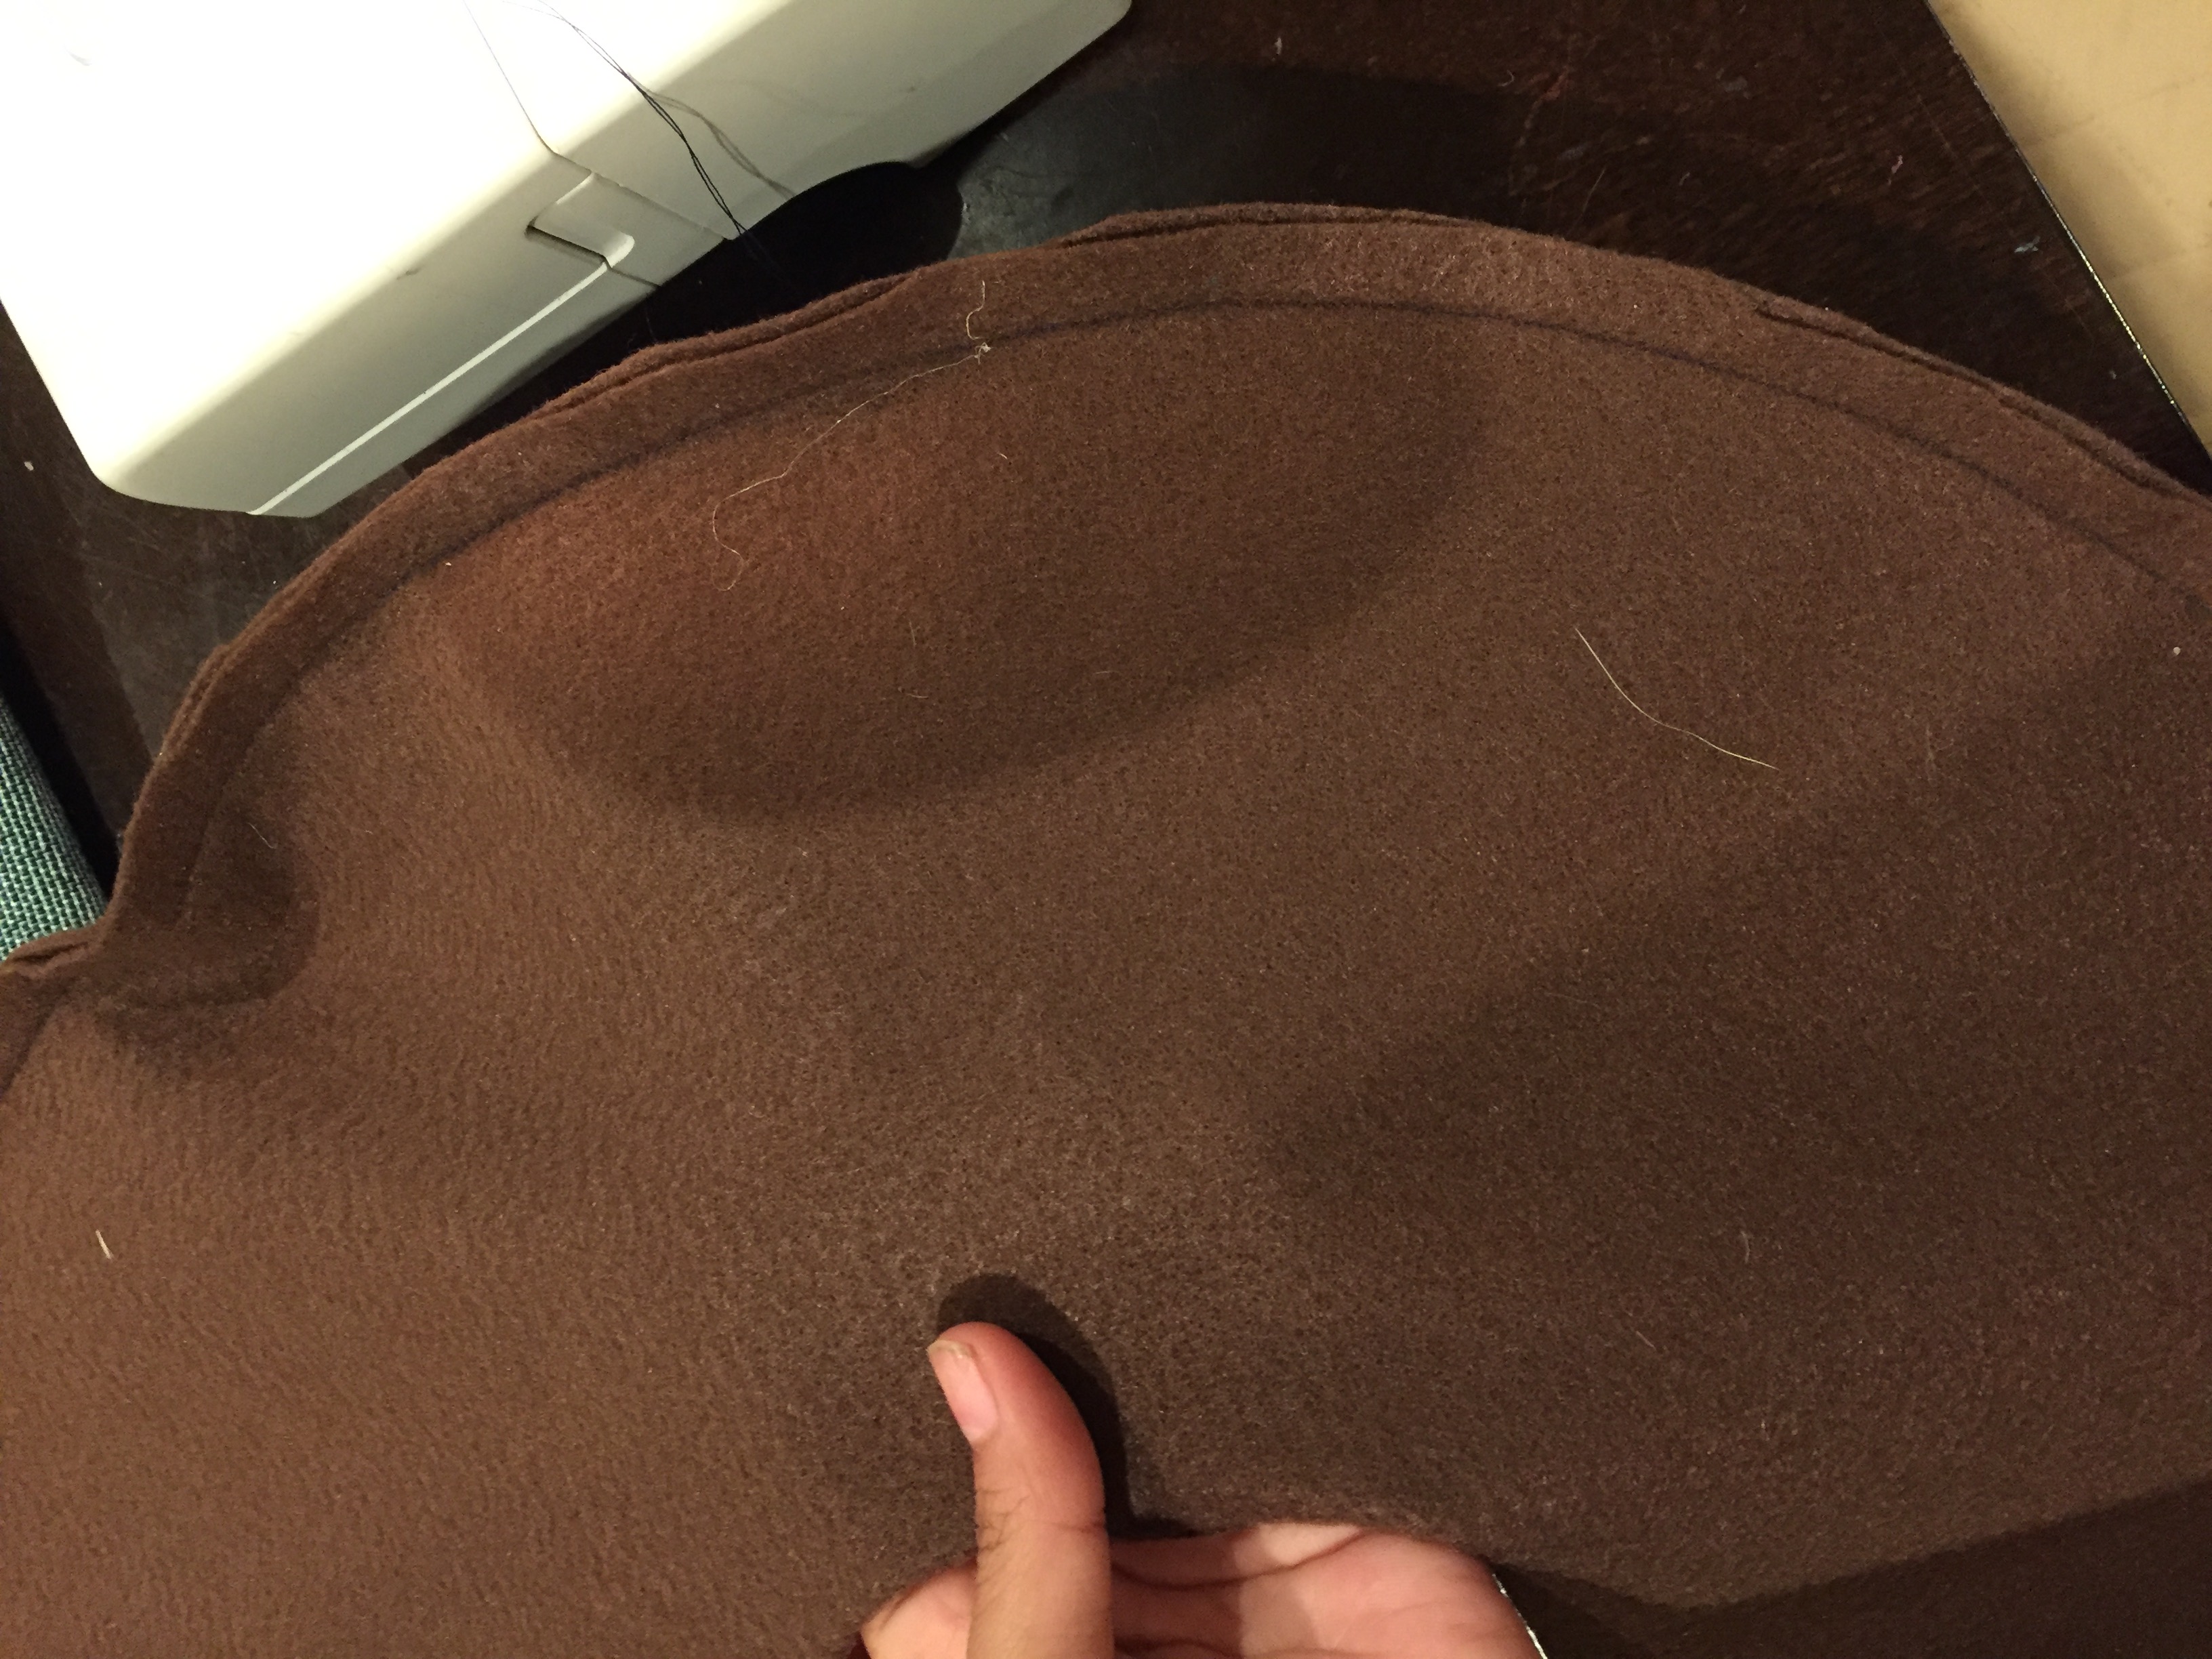

Step 7:
Place the two pieces face to face and sew around. This is also when I added 2 strands of ribbon so the costume can hang over her shoulders. Measure accordingly. Remember, This is going to be flipped inside out so make sure you are sewing the ribbon sandwiched between the pieces and in towards the center. If you are not handy with the sewing machine you con even use hot glue.
Step 8:
Flip costume inside out and cut another slit into the backside of the donut and pull the battery pack through once more. The pack should now run through the inside of the costume to the back and can be placed in your pocket or tucked into your wristband, ect.
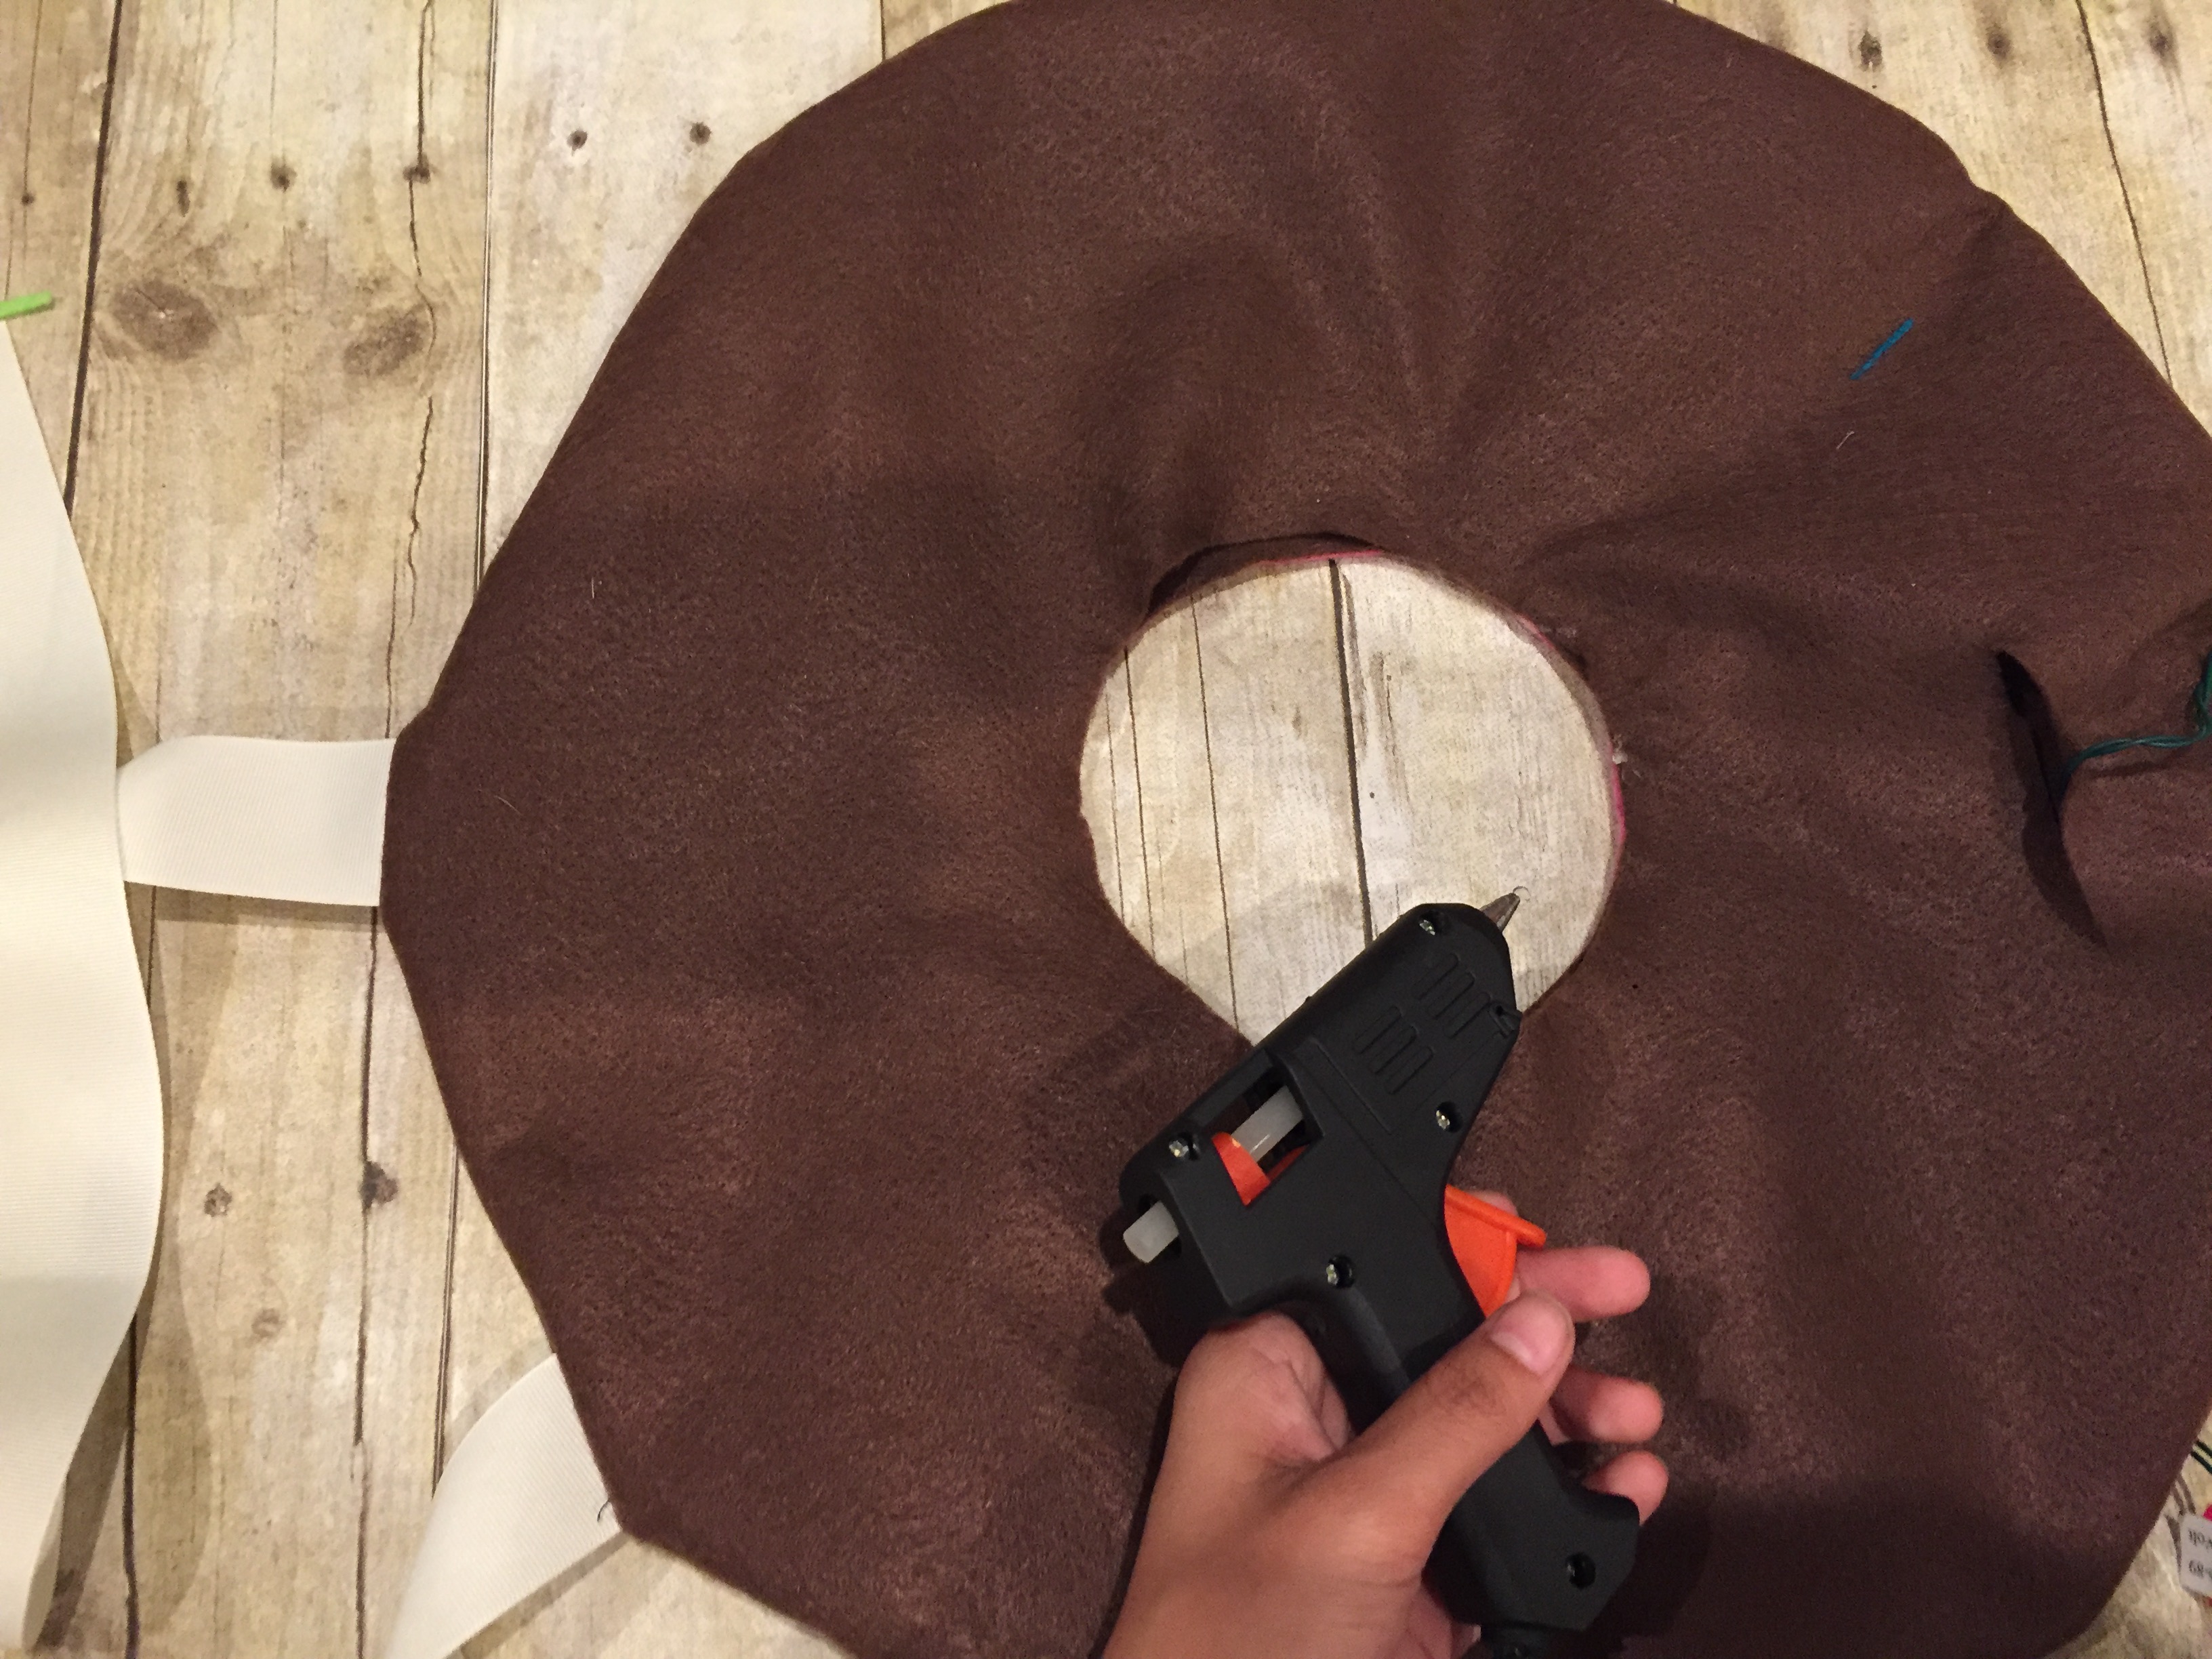
Step 9:
For the center circle of the donut I just hot glued it closed, leaving about 4-6 inches open to able to stuff it with fiberfill (stuffing). Go ahead and stuff the donut to your liking and hot glue the remainder of the circle.
Repeat steps 7&9 for the back of the costume (the back we left plain, no frosting) and there you have it!
If you have any questions please, ask! 🙂 Thank you for reading!
Another great imagination costume. So original! I wish more people would do this. I remember when I was a child, we always had homemade costumes. They are the best and made with Love. Another cutie posing and loves her Auntie Judy, (and her Momma for attempting 🙂
My mom says the same sue! Their costumes were made at home! Defiantly Made with lots of love!!! Thank you sue!